Post by Chicago Astronomer - Astro Joe on May 3, 2014 18:50:33 GMT -6
GSO Dual Speed Speed Focuser Tune-up
03 May 2014
03 May 2014
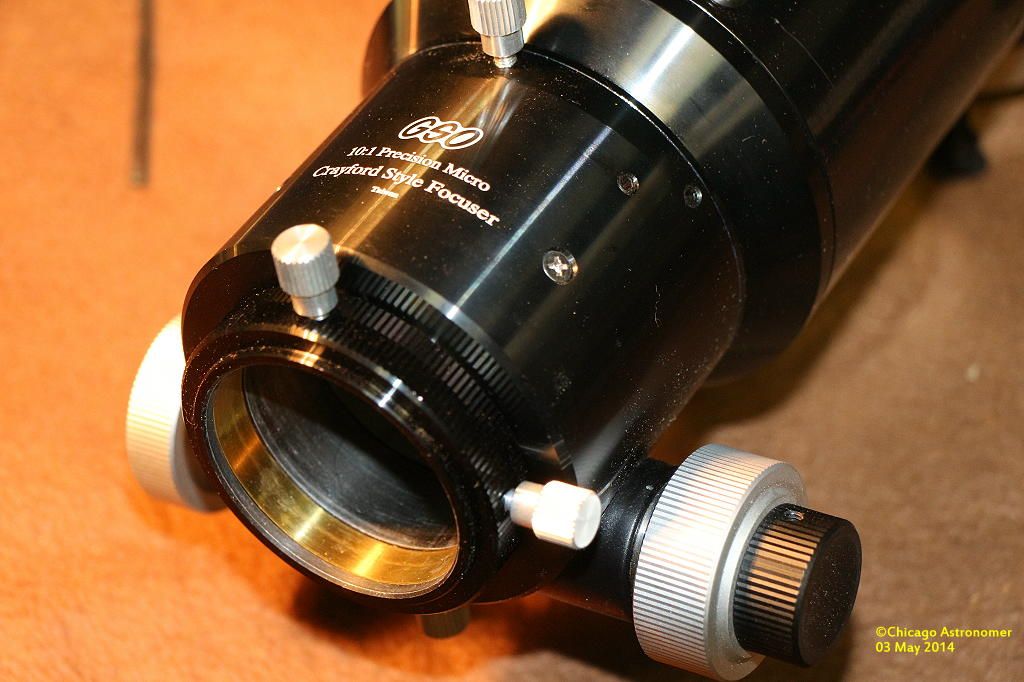
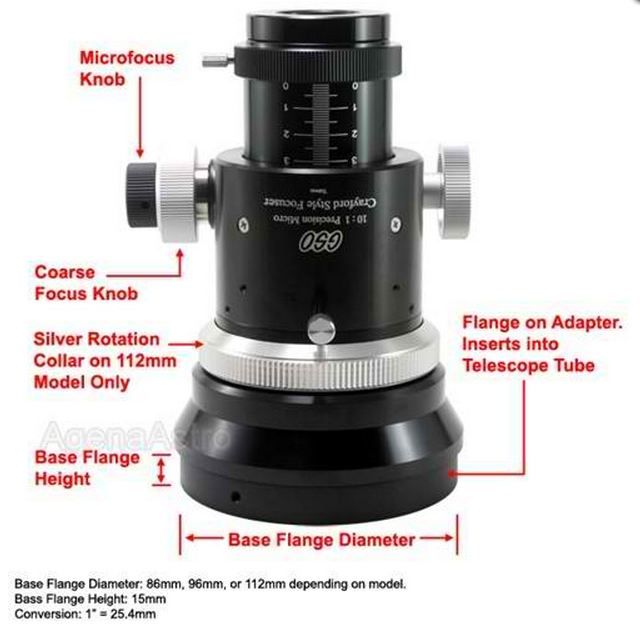
I replaced the stock single-speed focuser on the C102 a year ago with this GSO dual-speed focuser. Way better than the stock one and it has performed well, assisting in bringing in sharp imaging - especially during solar sessions, which can be quite difficult. But, the action has become noisy, wobbly and choppy, sticking at spots along the draw tube and not fully extending to it's full length without forcibly pulling.
Time for a tune up.
Not a major project, but I did have the guidance of others before me and read about their experiences before hand. The various components are pretty much straightforward...
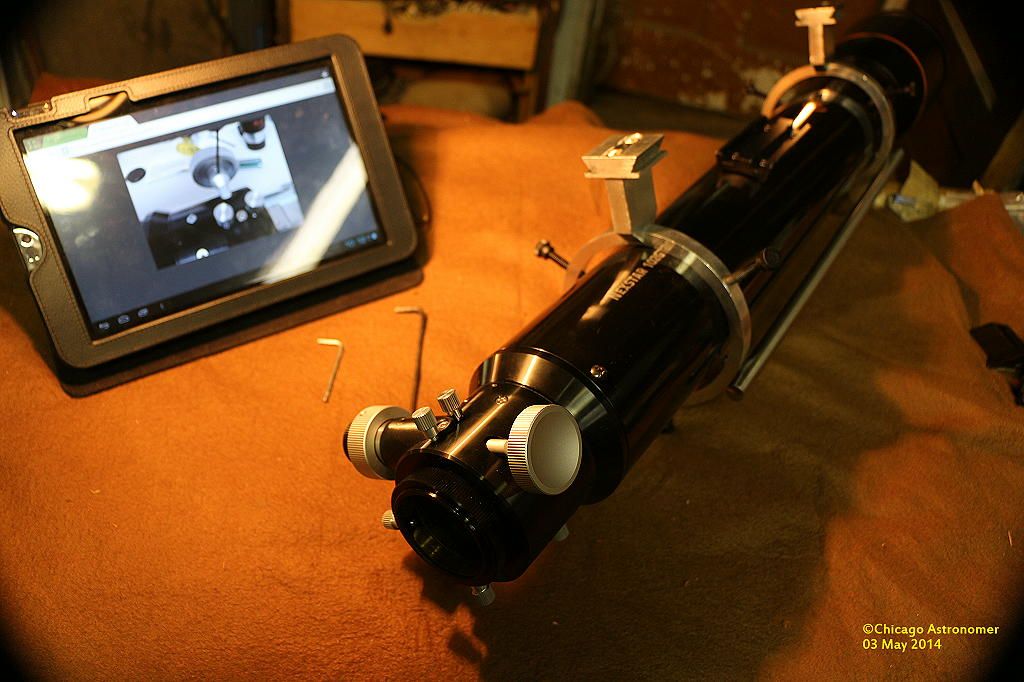
Clearing the workbench, placing a felt covering and with decent temps and time...I was ready to take this apart and see what's going on. I keep the tablet near-by and consult it from time to time...
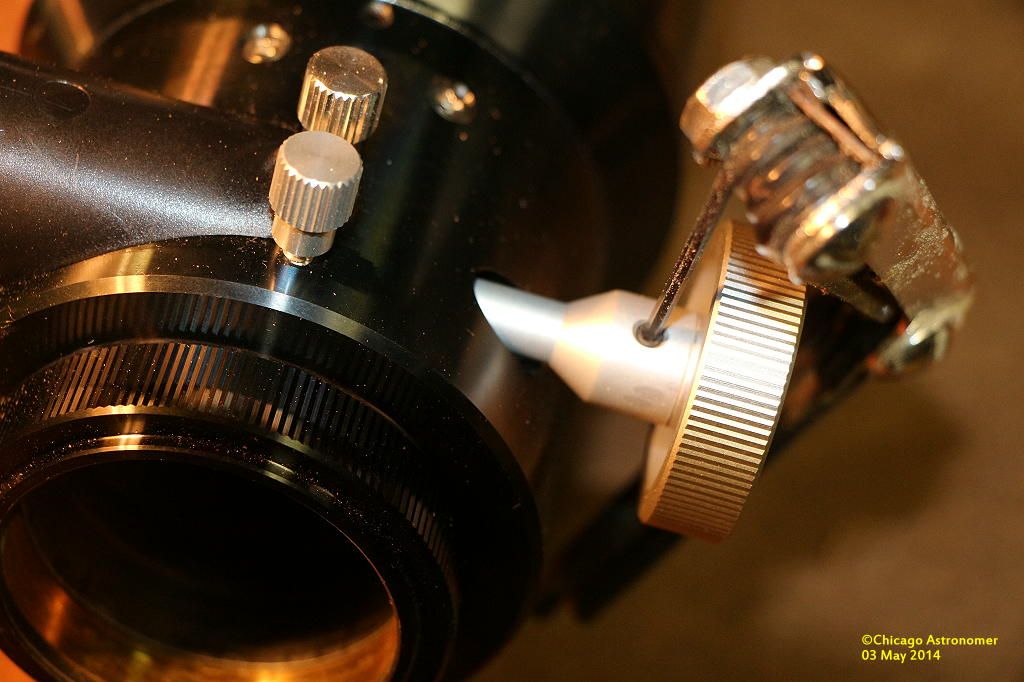
The first step is to release the single speed knob from the focus shaft with a hex-key..
With the knob off, the shaft slid out easily..
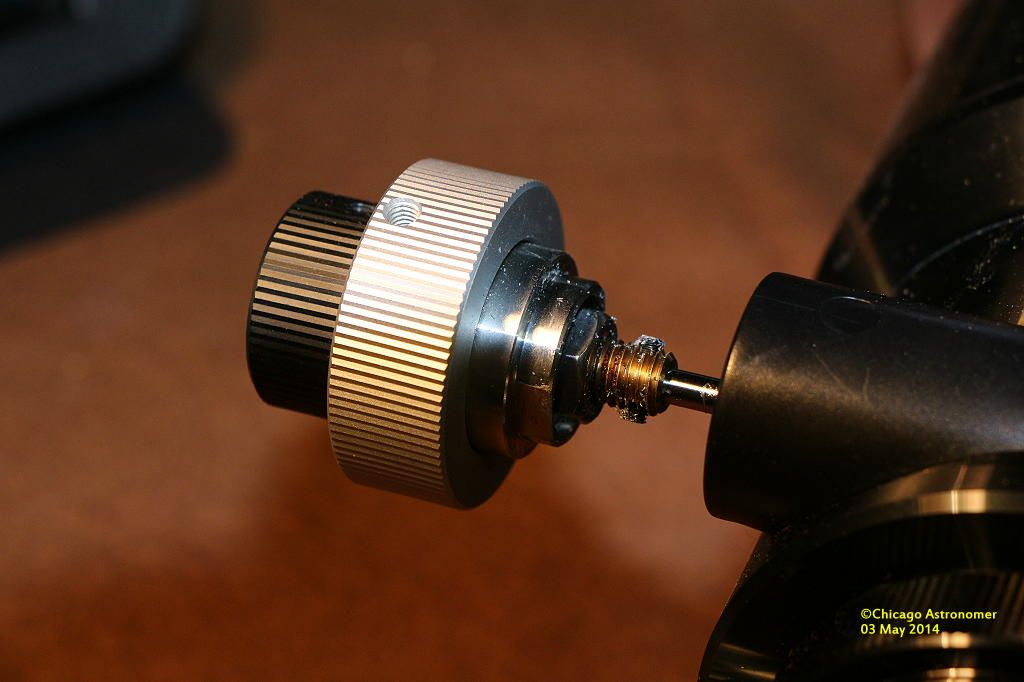
I did hear a couple of items fall within the focuser, but no big. There was some metal grinded off material adhering to the lubricant as I slid it out...
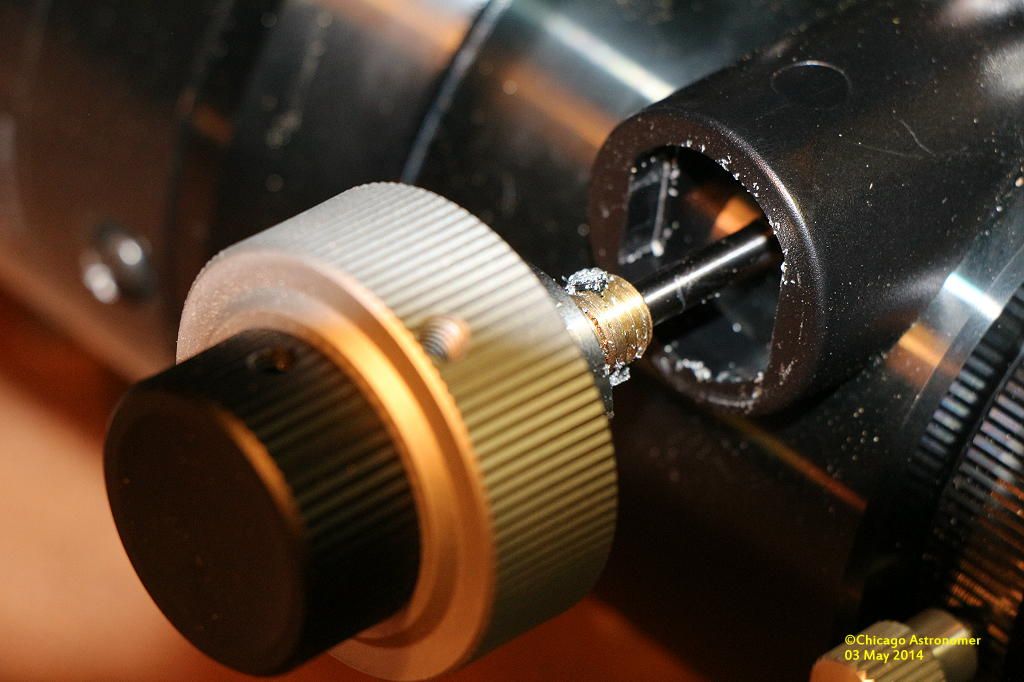
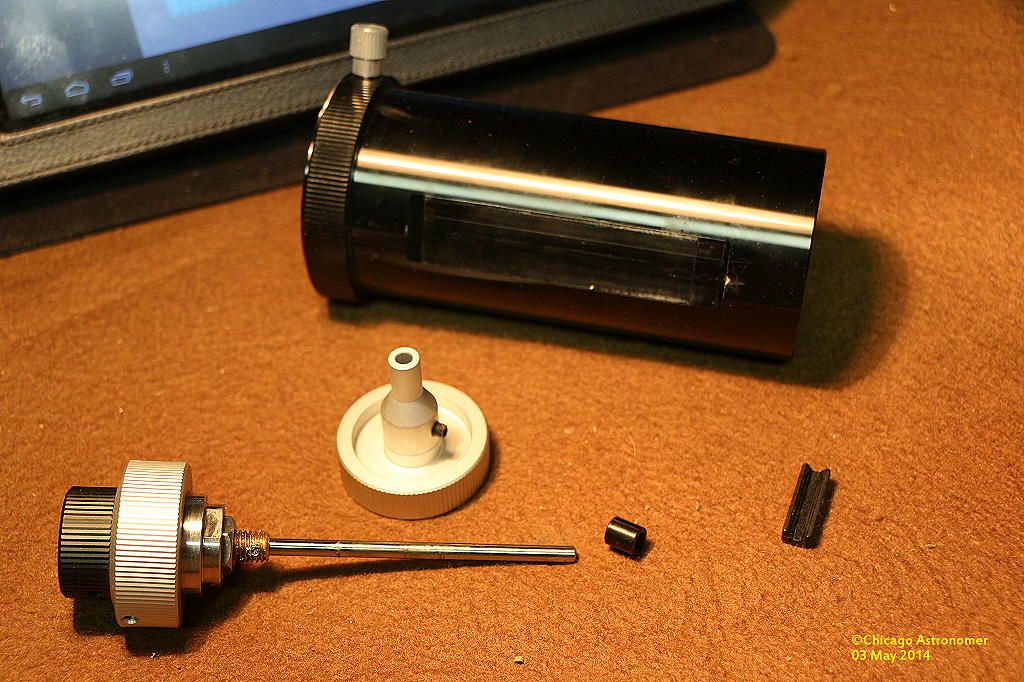
All parts of the shaft assembly shown...including the two smaller items that fell loose earlier....
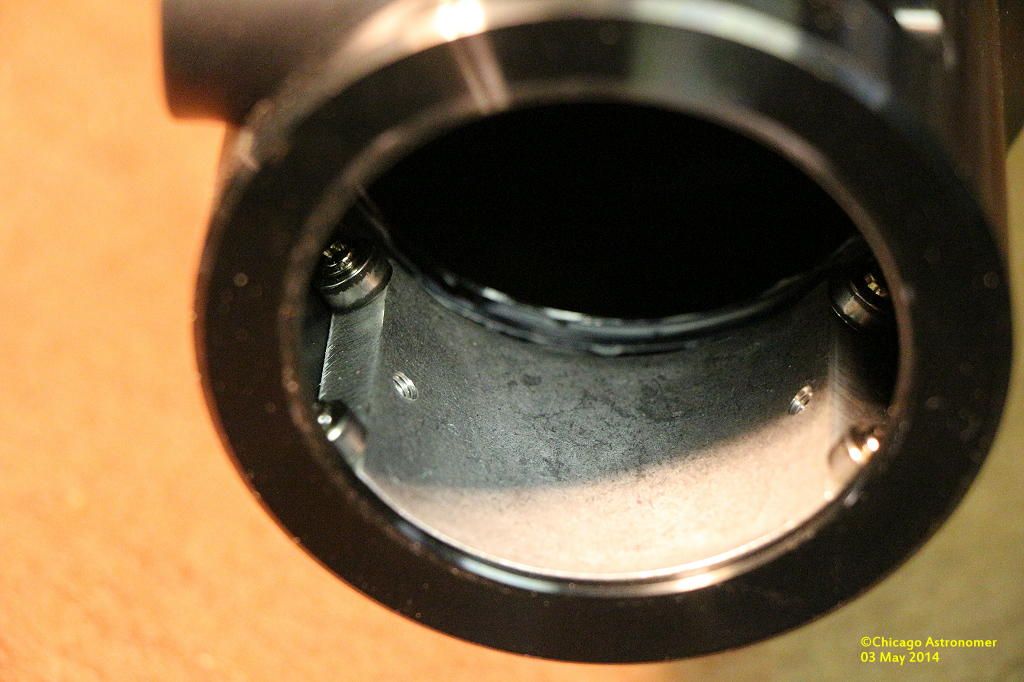
Taking a peek inside, the roller bearings and shaft seat recess...
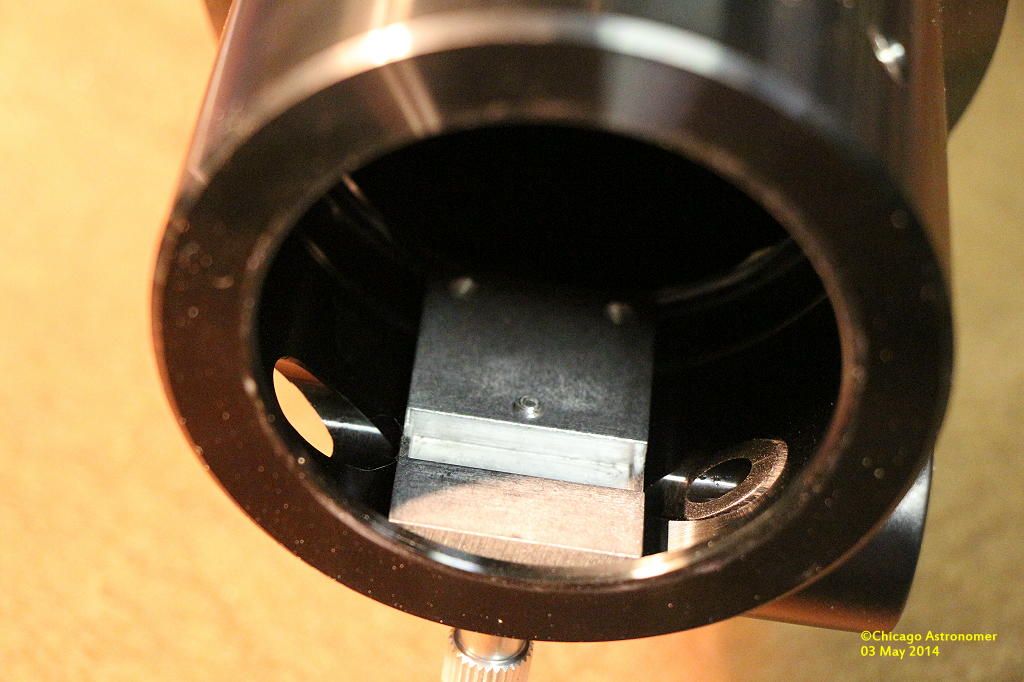
It's recommended to polish the flat along the draw tube using some polishing medium. With a classic car in the garage, I have all the necessary elements - and I grab for the Rubbing Compound...
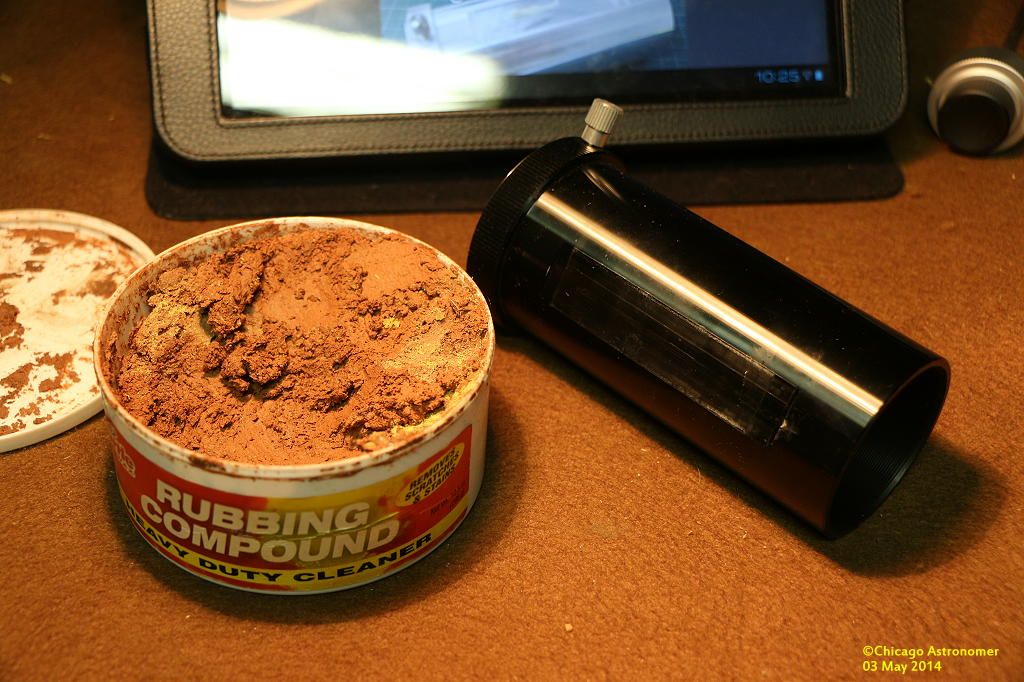
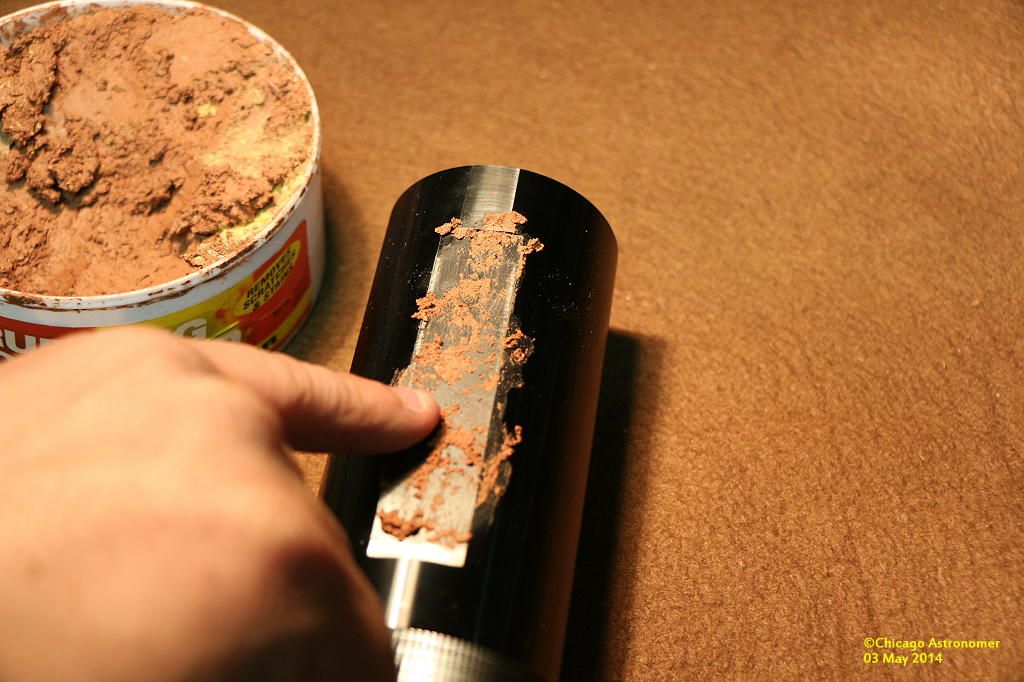
Using my finger, I can better feel the cut and progress of the polishing. In about 10 minutes, the flat is as smooth as glass...
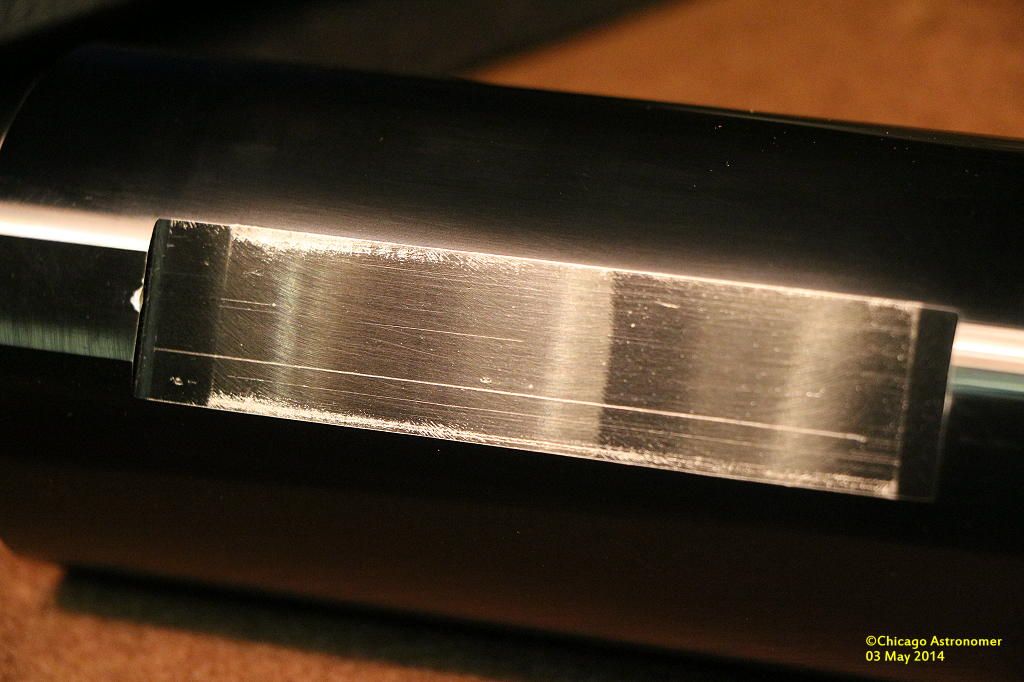
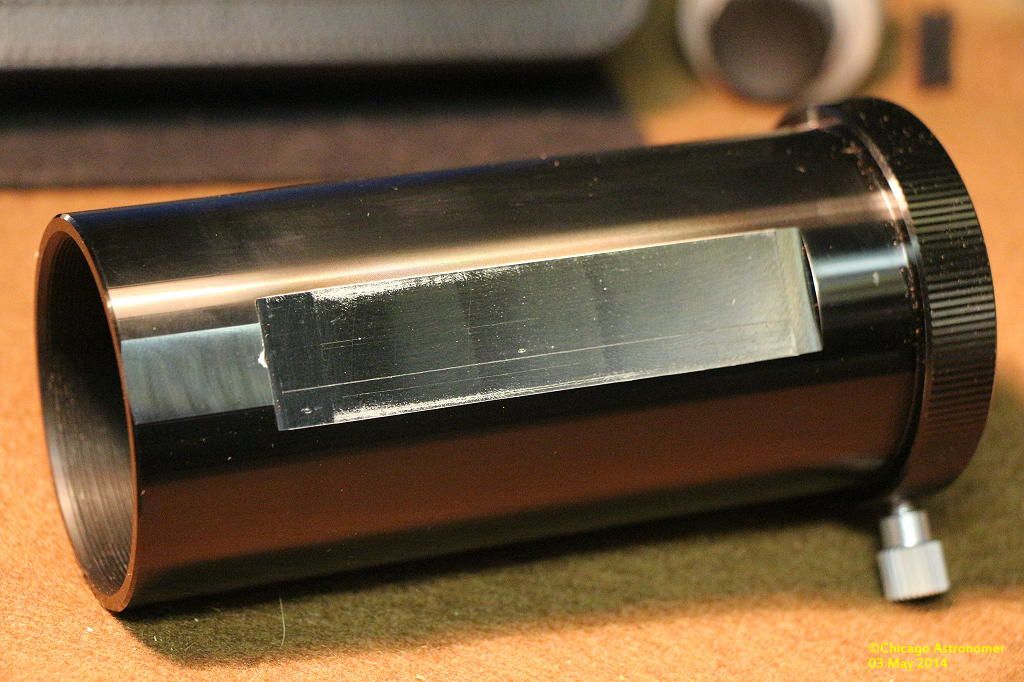
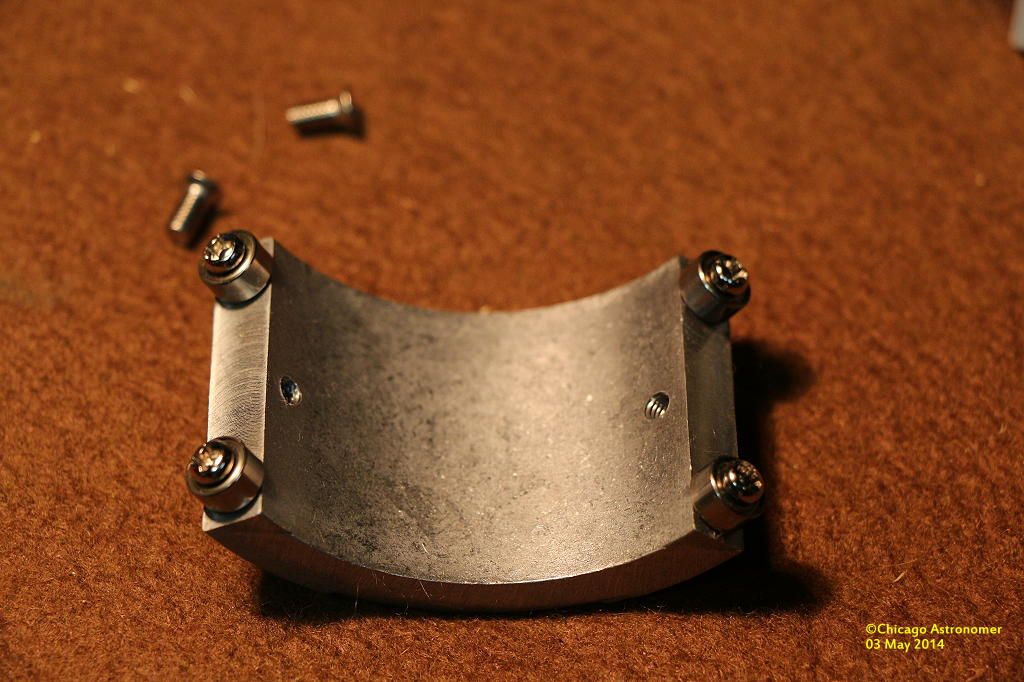
Setting this draw tube aside, I turn to the roller bearings. Most just add grease to the bearings still installed within the tube, but I decide to remove the bearing plate and see the assembly close up...
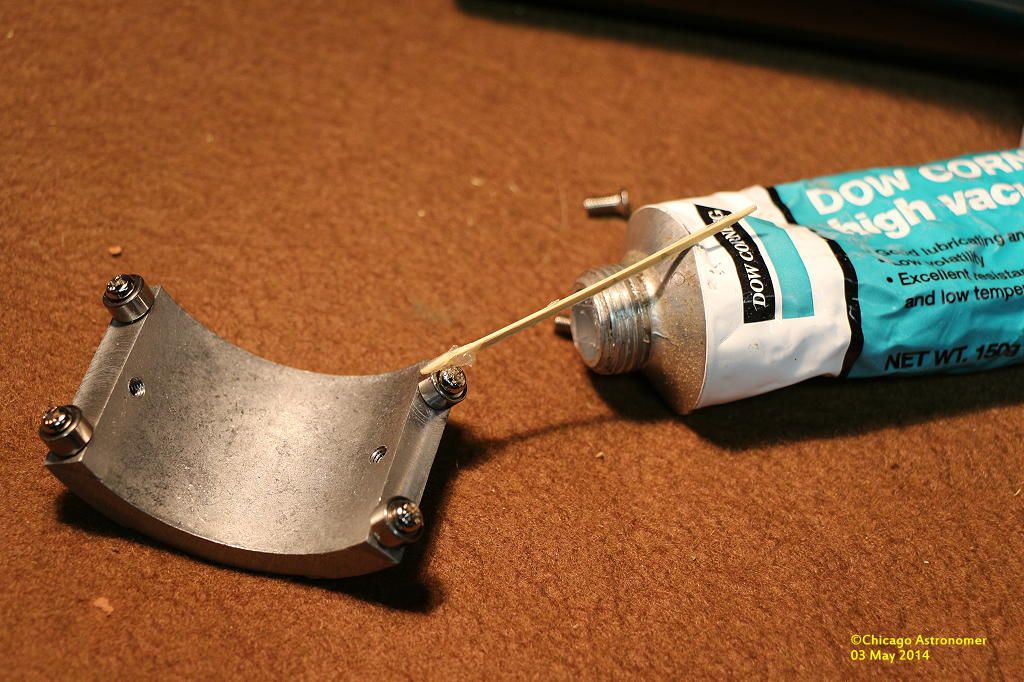
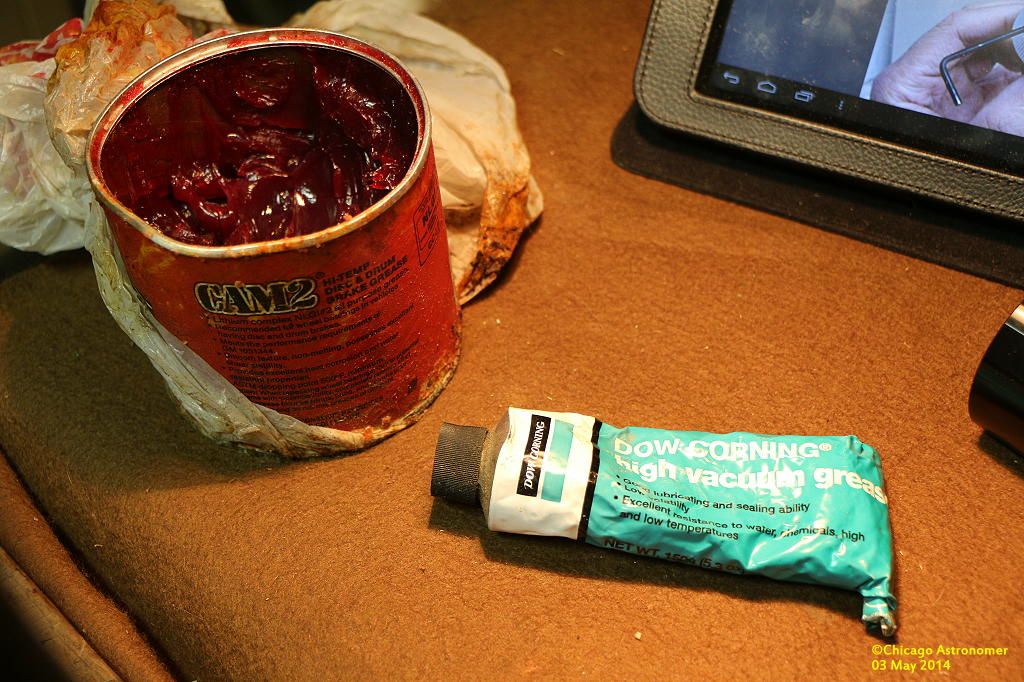
I had two lubricants handy here. Regular wheel bearing grease and the Dow Corning Vacuum grease that I use on the primary draw tube on the C11. The High Vacuum grease does not outgas and leave contaminants on the glass surfaces...so I go with this. And it's very high viscosity in all temps.
Really, the only choice...
Using a toothpick, I apply the lubricant, but it's only adhering to the outside of the bearing. I can do better.
I take the bearings off the plate and manually force the grease into the race and bearing, like all good mechanics are supposed to do..
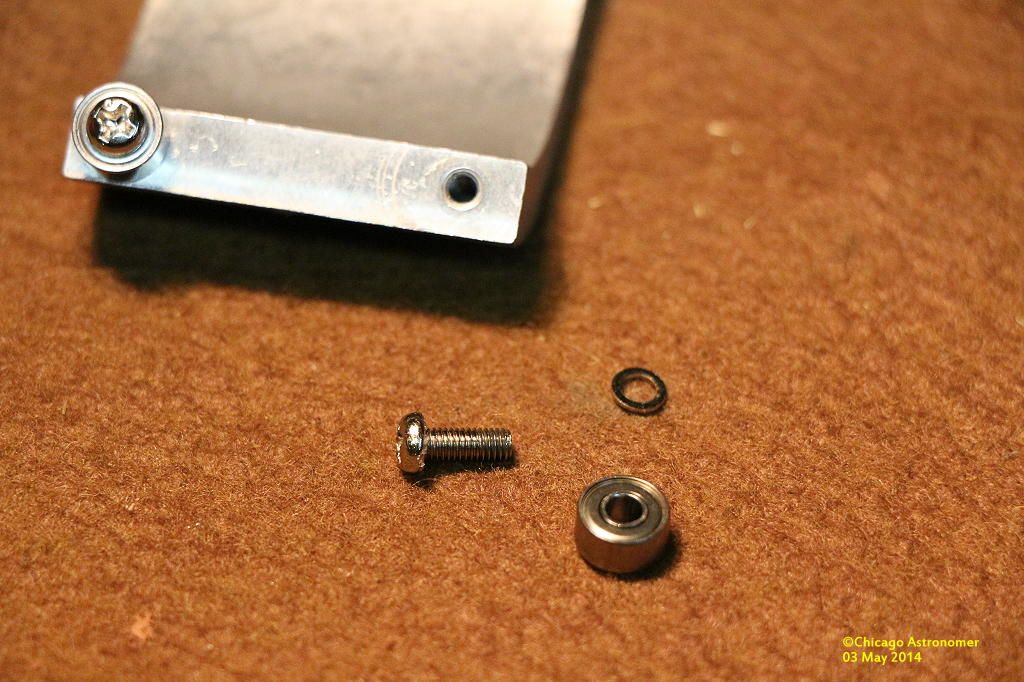
With all four properly lubricated and reinstalled, they feel smooth. Plate back on and I set it aside, going on to the focusing knob assembly and the bearings within...
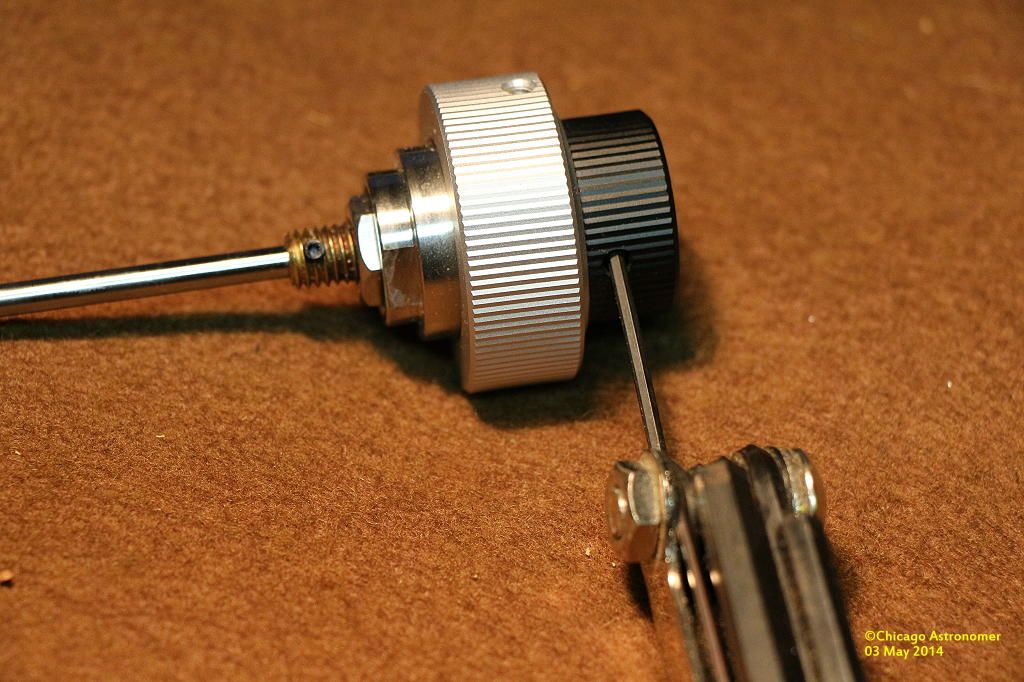
Removing the slo-mo and single speed knobs, I finally get a look at the three bearings...and they are a little short of lubricant...
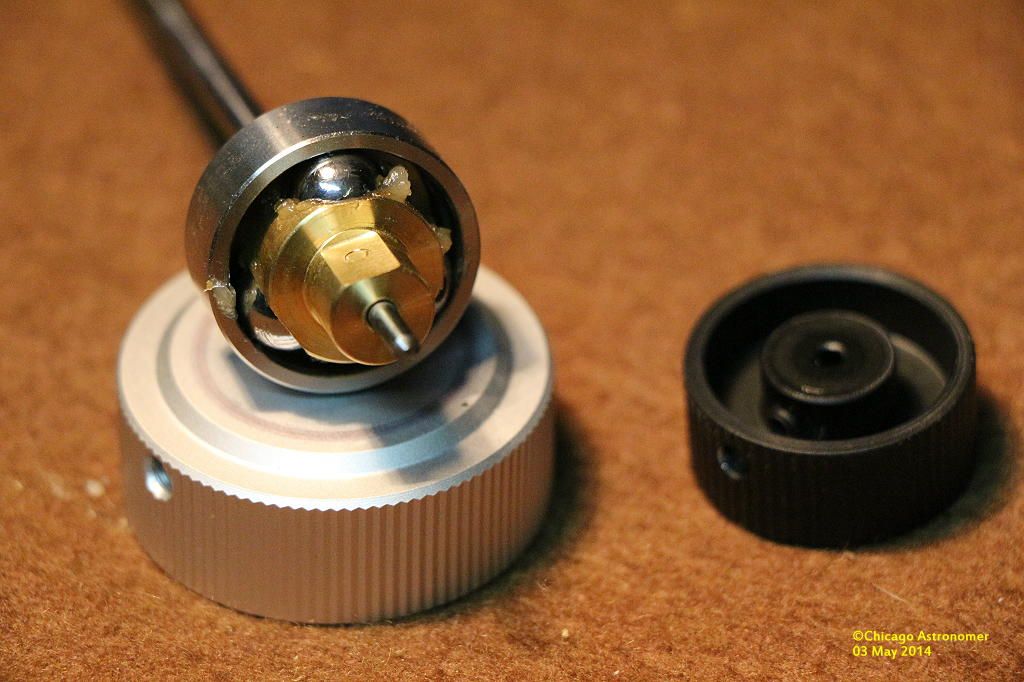
It had that cheap Chinese grease that all good Astronomers hate and I remove most of as I can. (The best way was for a Kerosene wash, but I was too lazy to go to the garage again... ). Using the Dow Corning High Vacuum grease again, I force the lubricant within all voids along the bearing's path and race shell...
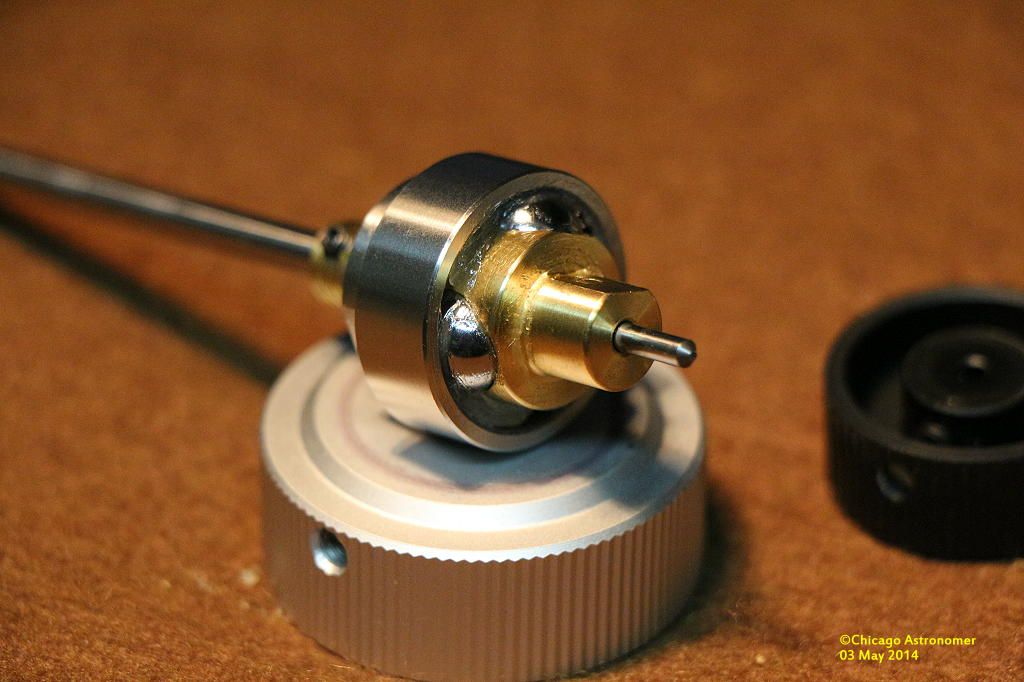
Turning the shaft by hand and holding onto the shell, I can already determine the smoothness of the action has improved greatly. But there is still another step for insure personal preference feel...
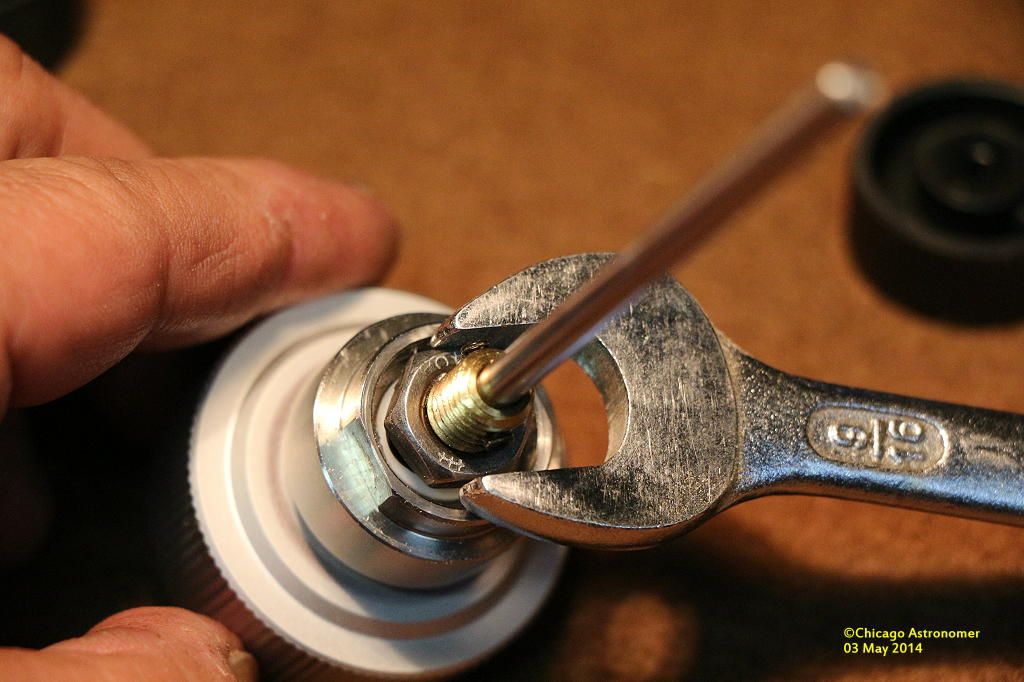
Behind the bearing assembly is a 1/2" nut, (Ignore the 9/16th wrench). Here one, can loosen or tighten the nut to ones liking. Too loose and the slo-mo knob will not engage properly....too tight and the action will be hard and stiff. There is a sweet spot just right in between and I like where I adjusted mine to.
But, I temporarily loosen the nut a lot, in order to create some space on the other side and push in lubricant under the nut and in between the focusing shaft housing and bearing shell with a toothpick..
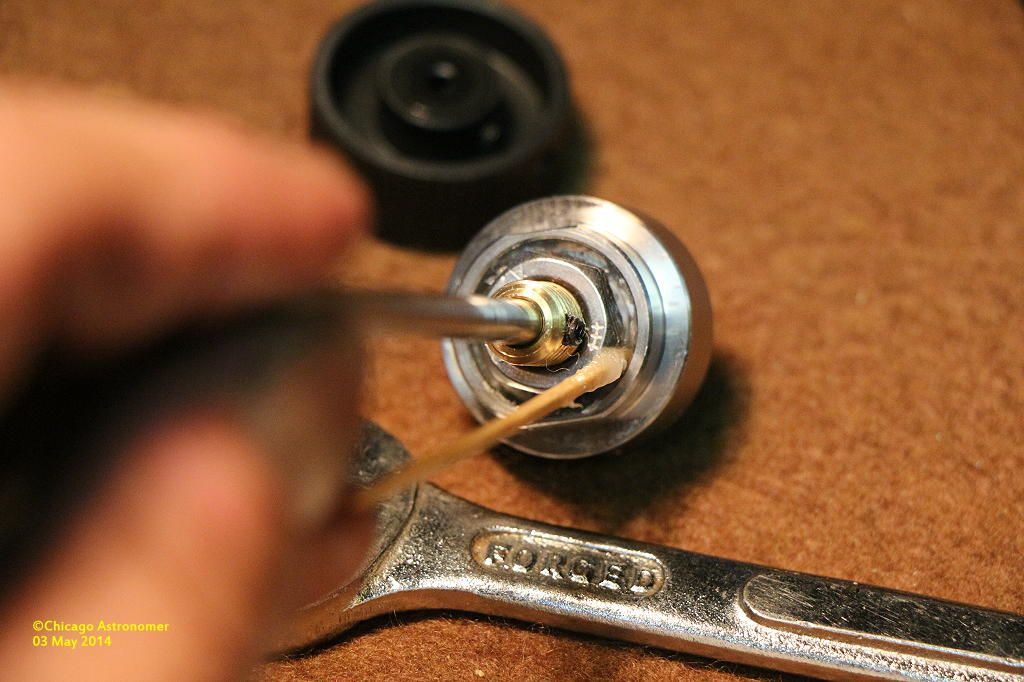
Using a wrench, I immobilize the bearing race and spin the shaft...and it feels pretty smooth and no noise. Popping back on the knobs and adjusting that nut to my liking, I set it aside and see what's going on with the rotating collar on the focuser...
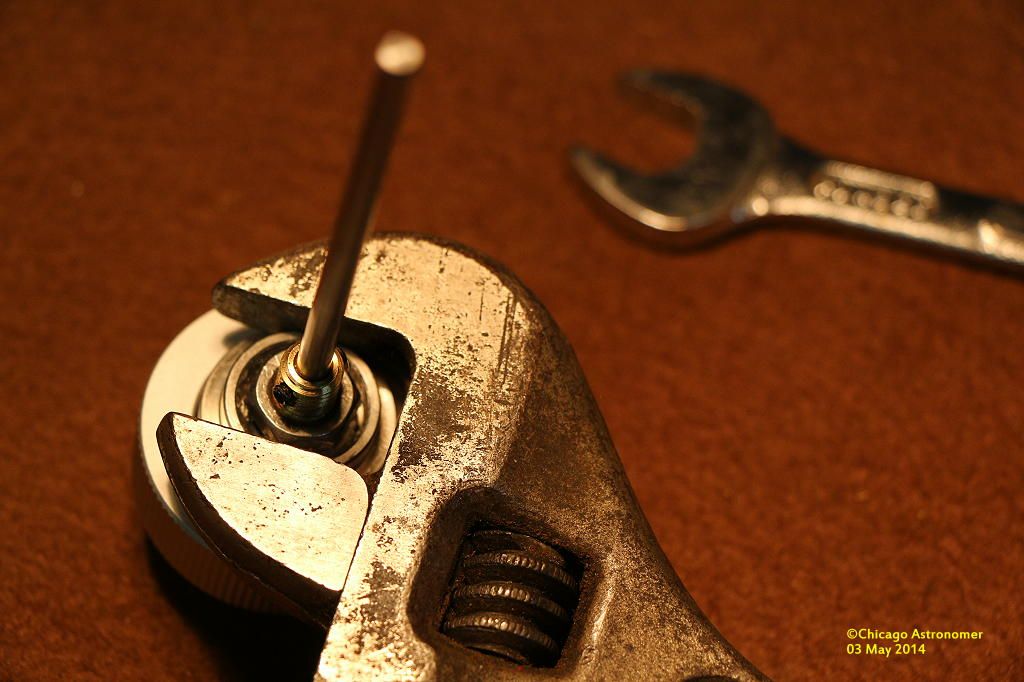
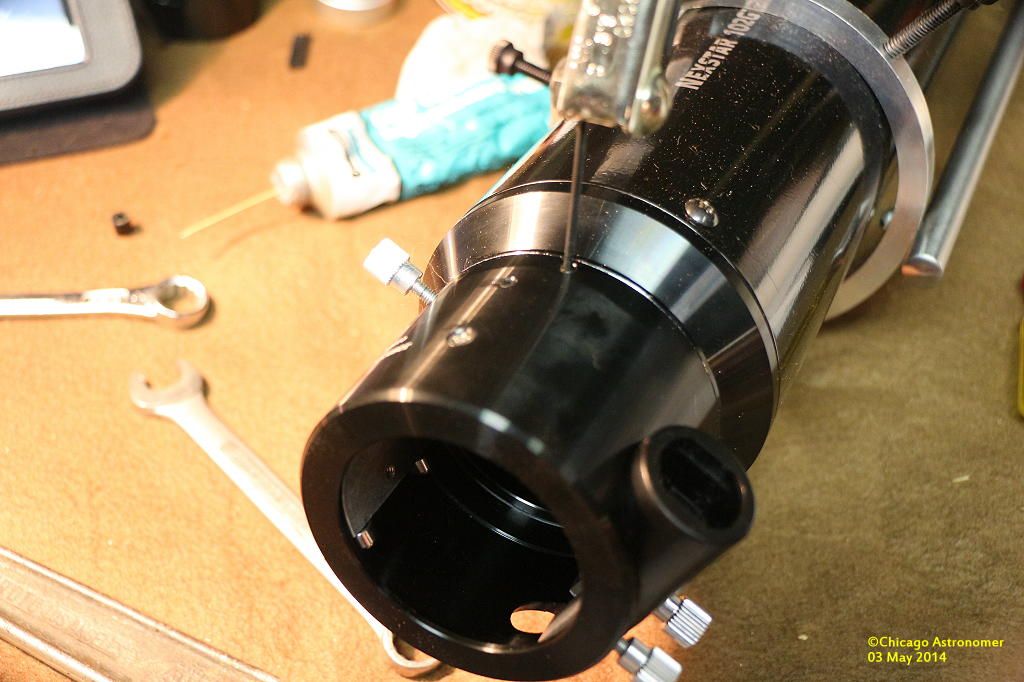
Removing the three hex locking nut, the assembling comes off easily...
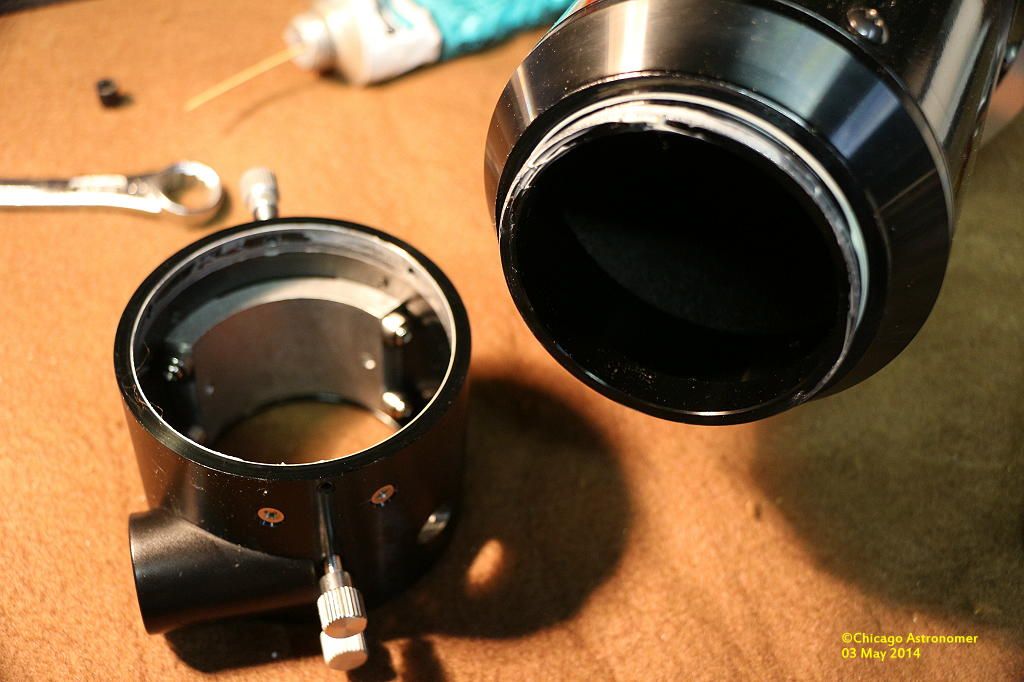
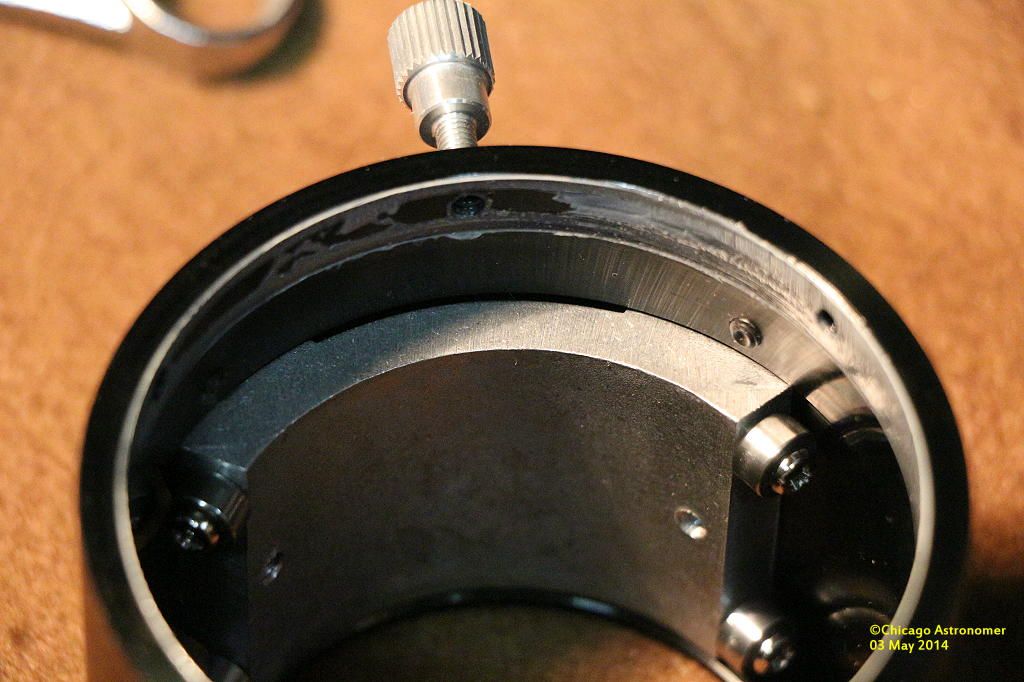
The rotating housing here is a great feature and allows one to loosen the hold down screw and adjust the angle of the diagonal for comfort and practicality. All focusers should be like this. I see the same crappy lithium grey grease and remove it with a paper towel and a WD-40 chaser - taking the time to clean all surfaces before putting it all back together...
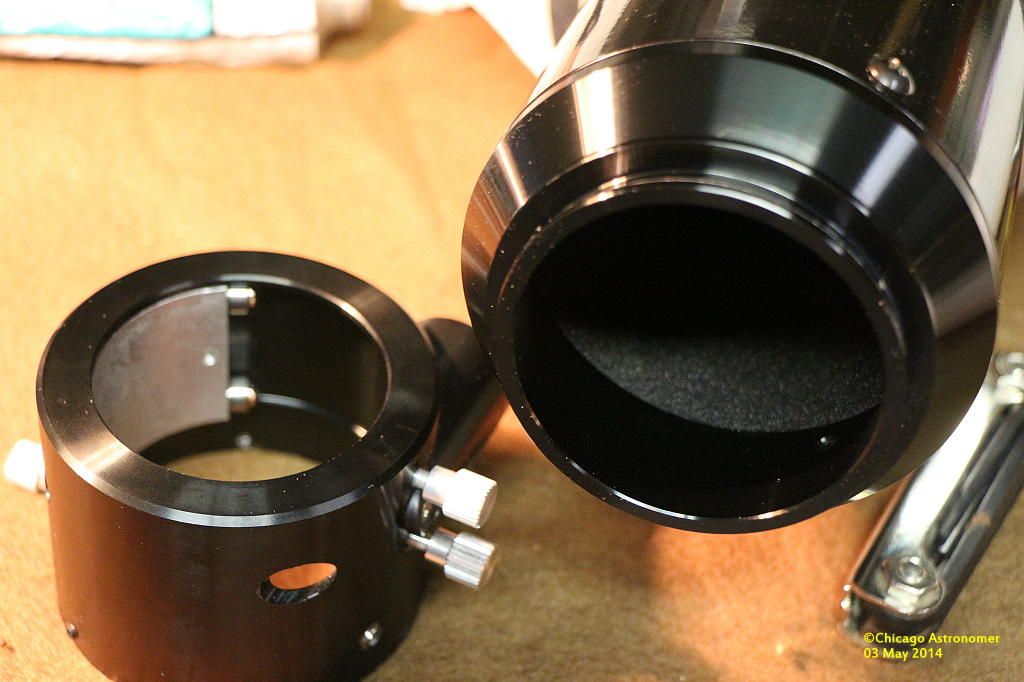
I apply the Dow Corning grease here as well and with it's thick viscosity, the feel is a firm one when the shell is now rotated. Not as smooth as I would like, but good enough and a lot better than before.
Reassembling the focusing knob, I insert the draw tube in first, placing the small shaft seat in it's recess and lubricate that as well...and slide the shaft into place. Goes in quite easily.
One last procedure is to lubricate the small plastic shaft guide before guiding it home and then...
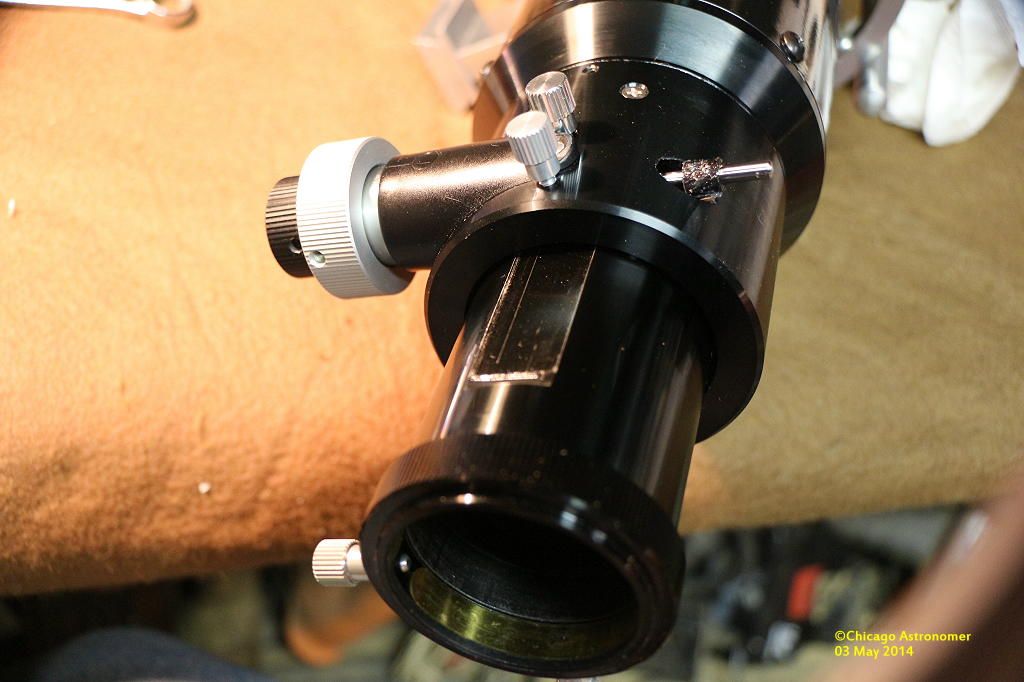
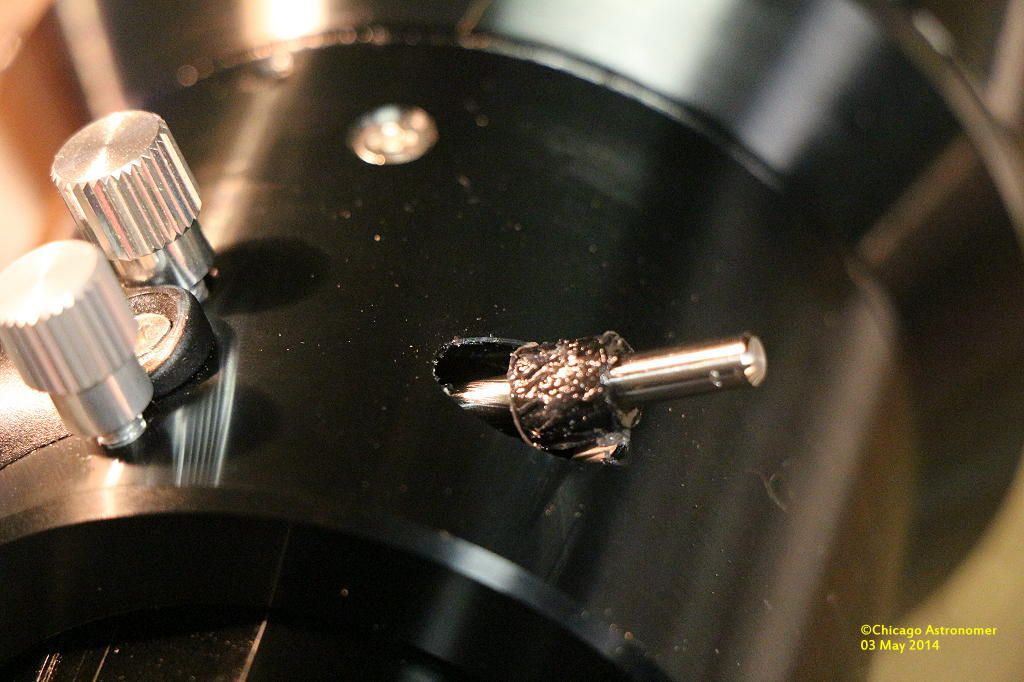
...re-attaching the single speed knob..we are finished...
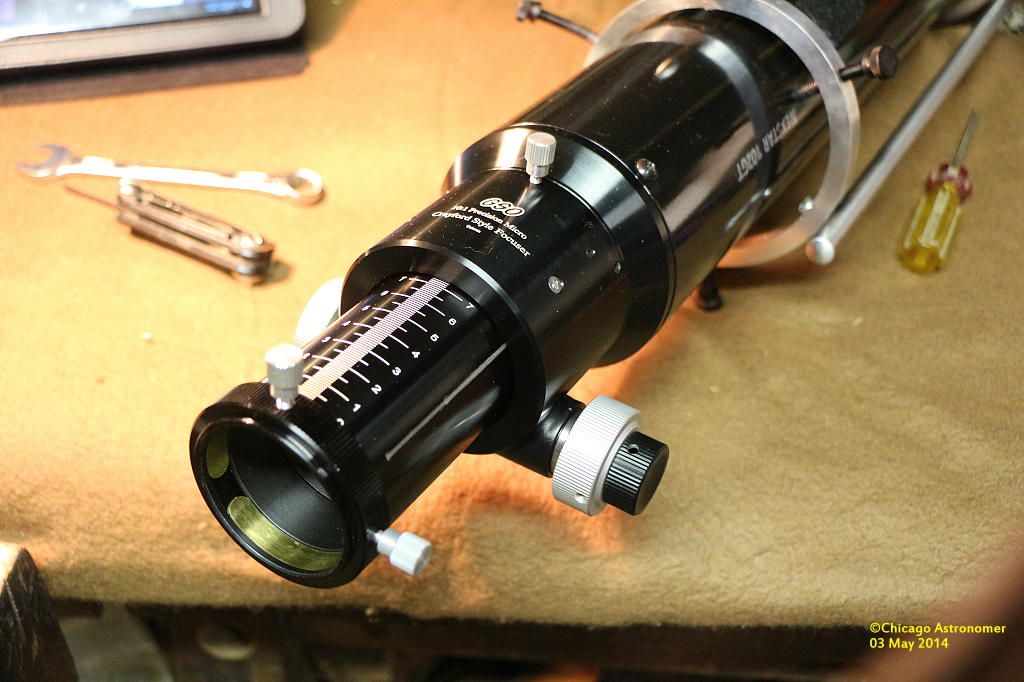
The action is smooth and gone is the jerky, noisy, wobbly and clumsy action of before. The slo-mo knob works beautifully and we are ready to pry out the secrets of the cosmos with smooth focusing. I need to do this to the C11's dual speed focuser as well, but for another time...

The first step is to release the single speed knob from the focus shaft with a hex-key..

With the knob off, the shaft slid out easily..

I did hear a couple of items fall within the focuser, but no big. There was some metal grinded off material adhering to the lubricant as I slid it out...

All parts of the shaft assembly shown...including the two smaller items that fell loose earlier....

Taking a peek inside, the roller bearings and shaft seat recess...


It's recommended to polish the flat along the draw tube using some polishing medium. With a classic car in the garage, I have all the necessary elements - and I grab for the Rubbing Compound...


Using my finger, I can better feel the cut and progress of the polishing. In about 10 minutes, the flat is as smooth as glass...


Setting this draw tube aside, I turn to the roller bearings. Most just add grease to the bearings still installed within the tube, but I decide to remove the bearing plate and see the assembly close up...


I had two lubricants handy here. Regular wheel bearing grease and the Dow Corning Vacuum grease that I use on the primary draw tube on the C11. The High Vacuum grease does not outgas and leave contaminants on the glass surfaces...so I go with this. And it's very high viscosity in all temps.
Really, the only choice...
Using a toothpick, I apply the lubricant, but it's only adhering to the outside of the bearing. I can do better.
I take the bearings off the plate and manually force the grease into the race and bearing, like all good mechanics are supposed to do..

With all four properly lubricated and reinstalled, they feel smooth. Plate back on and I set it aside, going on to the focusing knob assembly and the bearings within...

Removing the slo-mo and single speed knobs, I finally get a look at the three bearings...and they are a little short of lubricant...

It had that cheap Chinese grease that all good Astronomers hate and I remove most of as I can. (The best way was for a Kerosene wash, but I was too lazy to go to the garage again...
 ). Using the Dow Corning High Vacuum grease again, I force the lubricant within all voids along the bearing's path and race shell...
Turning the shaft by hand and holding onto the shell, I can already determine the smoothness of the action has improved greatly. But there is still another step for insure personal preference feel...

Behind the bearing assembly is a 1/2" nut, (Ignore the 9/16th wrench). Here one, can loosen or tighten the nut to ones liking. Too loose and the slo-mo knob will not engage properly....too tight and the action will be hard and stiff. There is a sweet spot just right in between and I like where I adjusted mine to.
But, I temporarily loosen the nut a lot, in order to create some space on the other side and push in lubricant under the nut and in between the focusing shaft housing and bearing shell with a toothpick..

Using a wrench, I immobilize the bearing race and spin the shaft...and it feels pretty smooth and no noise. Popping back on the knobs and adjusting that nut to my liking, I set it aside and see what's going on with the rotating collar on the focuser...


Removing the three hex locking nut, the assembling comes off easily...


The rotating housing here is a great feature and allows one to loosen the hold down screw and adjust the angle of the diagonal for comfort and practicality. All focusers should be like this. I see the same crappy lithium grey grease and remove it with a paper towel and a WD-40 chaser - taking the time to clean all surfaces before putting it all back together...

(Here you can see the flocking I installed inside the C102. It does make a difference kids....)
I apply the Dow Corning grease here as well and with it's thick viscosity, the feel is a firm one when the shell is now rotated. Not as smooth as I would like, but good enough and a lot better than before.
Reassembling the focusing knob, I insert the draw tube in first, placing the small shaft seat in it's recess and lubricate that as well...and slide the shaft into place. Goes in quite easily.
One last procedure is to lubricate the small plastic shaft guide before guiding it home and then...


...re-attaching the single speed knob..we are finished...

The action is smooth and gone is the jerky, noisy, wobbly and clumsy action of before. The slo-mo knob works beautifully and we are ready to pry out the secrets of the cosmos with smooth focusing. I need to do this to the C11's dual speed focuser as well, but for another time...


