


Post by Chicago Astronomer - Astro Joe on Oct 24, 2009 2:17:21 GMT -6
Attaching a 63.5mm Finderscope to the Celestron C5 SCT Project
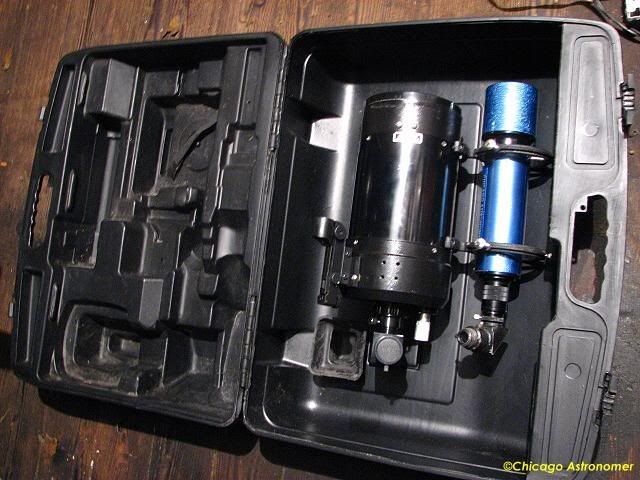
I recently acquired a Celestron C5 SCT.
A nice compact scope, easy to transport and has been providing me very good views. (Had a great imaging session this past week... astronomer.proboards.com/index.cgi?action=display&board=Astrophotraphy&thread=2593&page=1 )
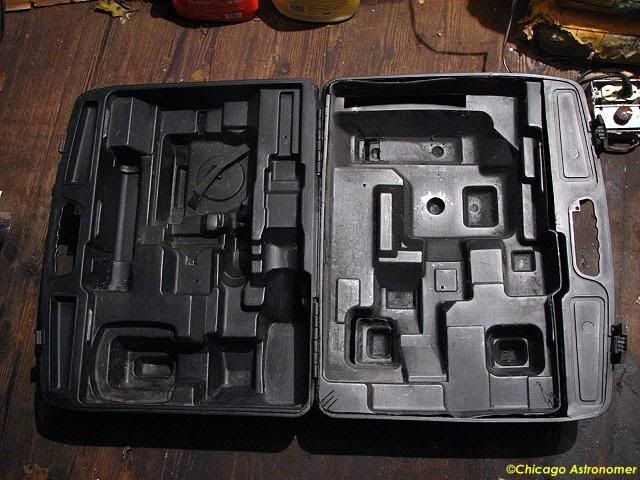
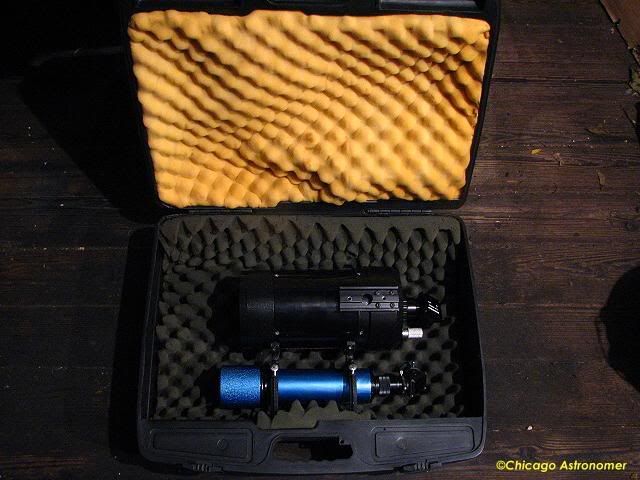
But, the C5 only came with a Zero Mag Red Laser Starfinder and an empty finder scope bracket. I have a 60mm shorty finderscope on my 4.5" Newtonian Reflector and desired something similar on the C5. On a recent observing session, it was rather difficult to locate objects with just the red dot finder. I need a finder scope on this tube.
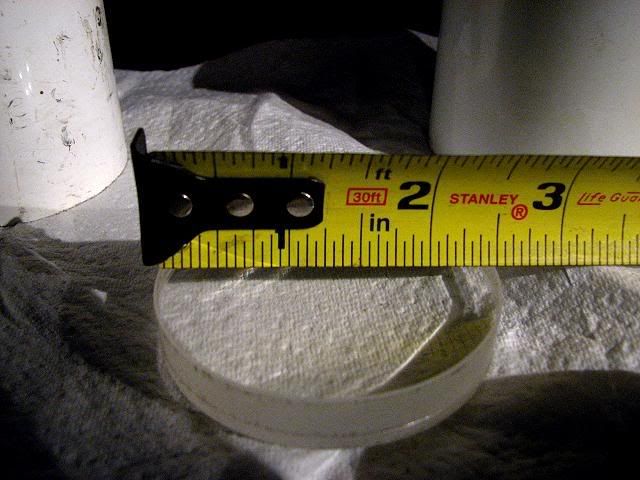
In the bounty of other items I acquired with the S5...was this old, beat up .096 shorty refractor. The objective was in good condition and was 2.5" (63.5mm) in diameter. Could be a great little finder/tracker scope for the C5....and I do have a few .096 eyepieces laying around - doing nothing. And using the tracking motor, I could use this to verify and nudge the mount.
I started to get ideas.
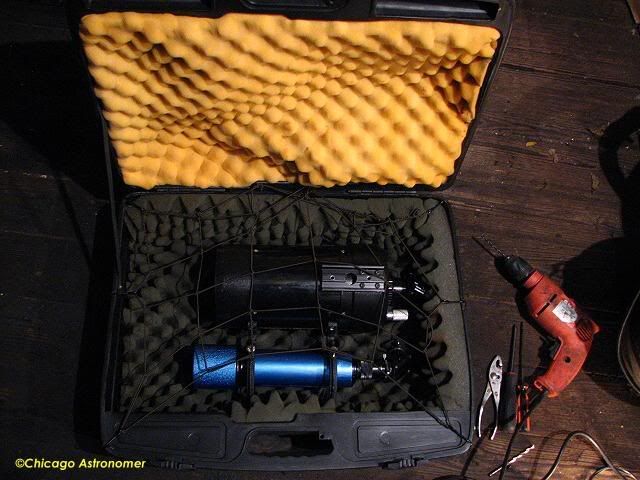
Also in the bounty, were these old scope rings, obviously for a 90/100mm scope, but they would do to hold on to this little finder. Only, now I would have to drill into the C5 - not something casually approached with a hammer and screwdriver.
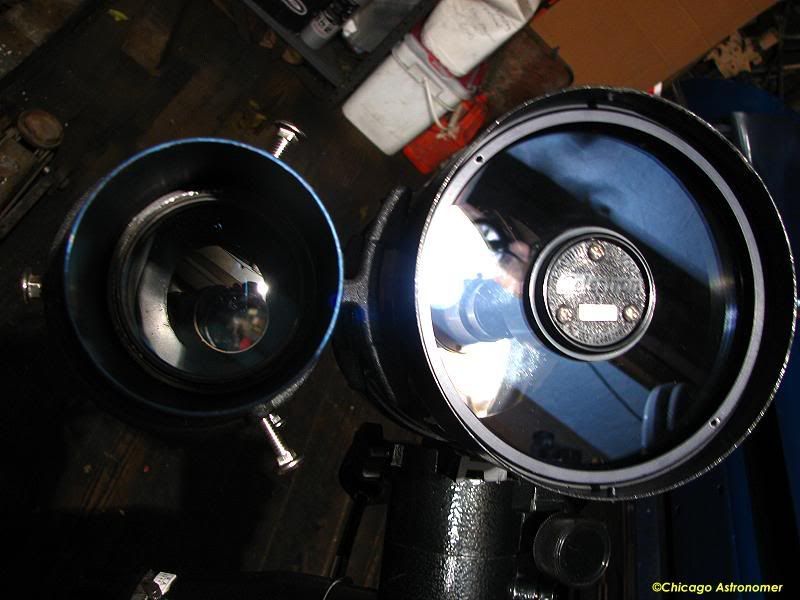
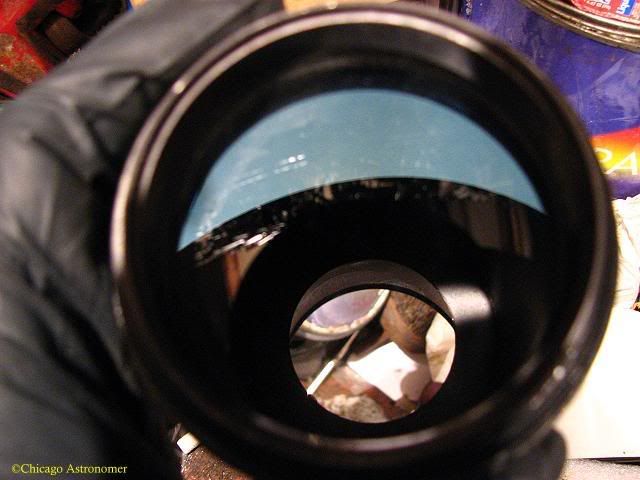
Wearing nitrile gloves for the project, I took off the corrector plate, and examining it, looked good...(you can catch the shorty refractor laying there in my trunk - waiting to serve useful life once again)....
The secondary was a bit dusty, but we will take care of that later.
I wanted to place the bulk of the piggyback refractor above the polar axis and let the shaft take the weight, (not that it weighs much), but experimenting with placements - the positioning of both the main eyepiece and the finderscopes were in the way of each other...too bad. I set the position of the rings low, closer to the R.A axis base. It will do and not in the way now.
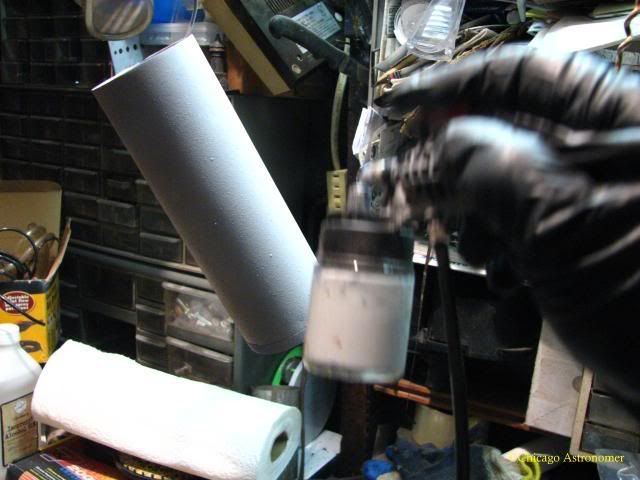
Not wanting to tap holes for the rings too close to the primary mirror, I started my drilling about 1/2 inch away, very slowly - keeping the tube pointed down for the metal debris to fall away...
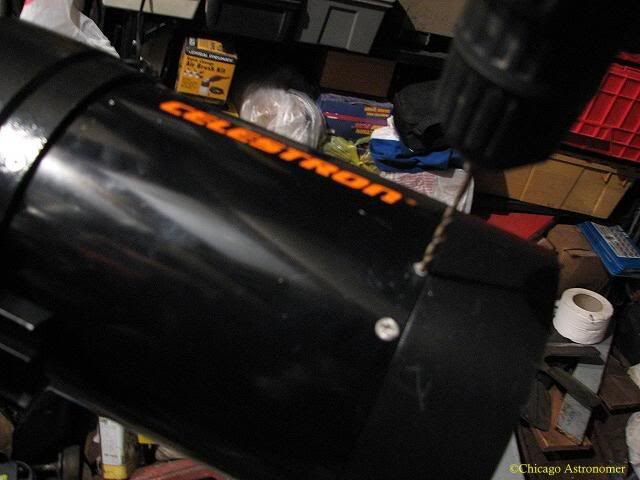
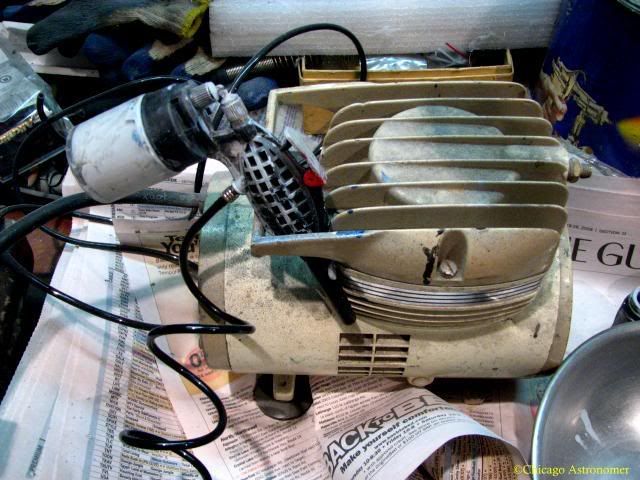
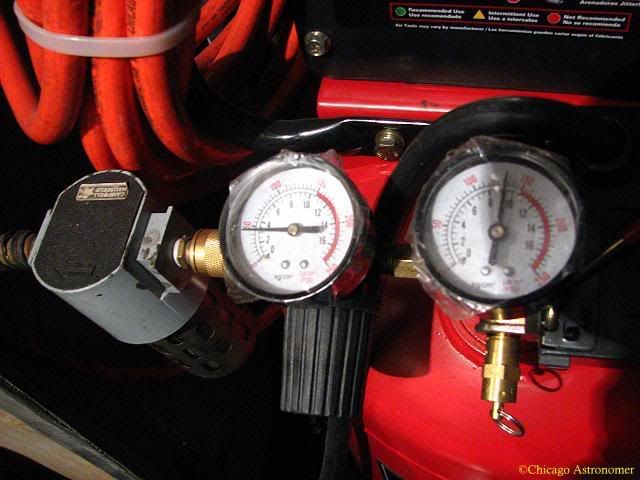
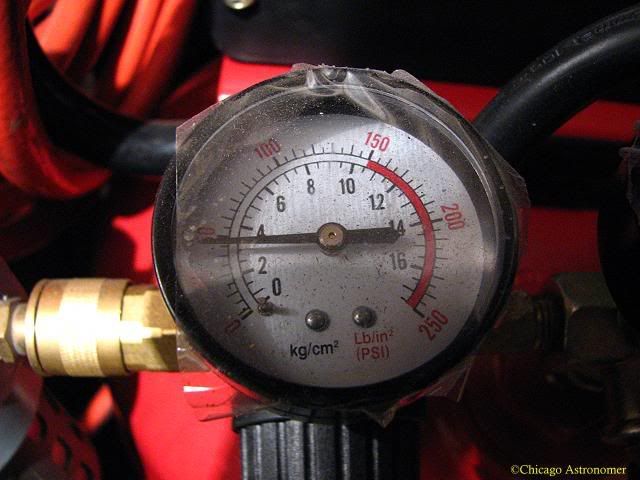
Near the Corrector plate end of the tube, the thinner metal of the tube fit around the thicker end of the plate holder...excellent! It now gives the forward most ring something beefy to fasten to. Using air from a compressor, I continually blast jets of air inside the tube to blast out the shavings and dust while drilling.
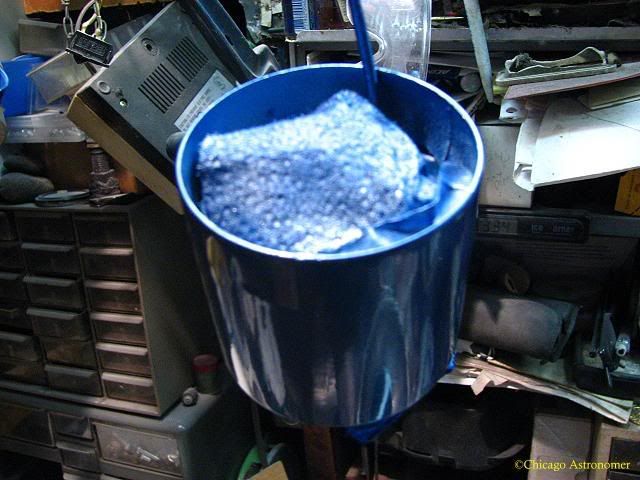
The rings came with screws already attached, but I wanted to use some split lock washers as well as regular washers. Wire brushing all fasteners on the electric drill made them all nicely clean and shiny. (I wanted to paint the hardware flat black, but I just wanted to keep this project moving on - winter is coming fast.) The screws just barely protrude into the field of the primary mirror - nothing to get bothered about, and so I left them be.
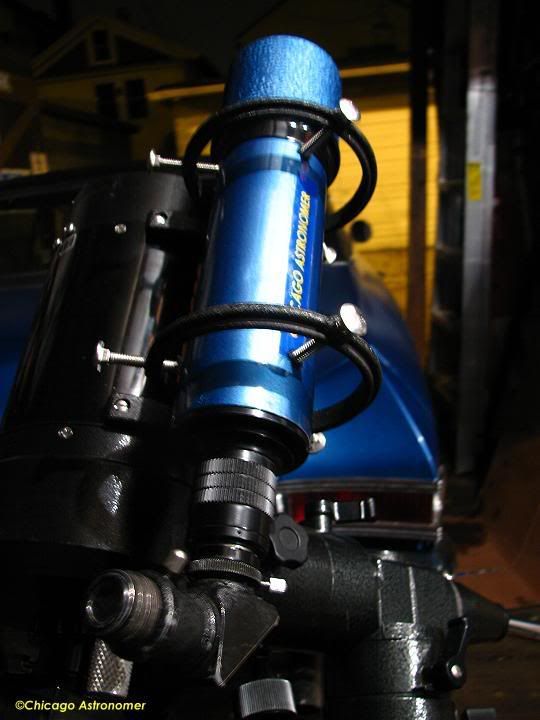
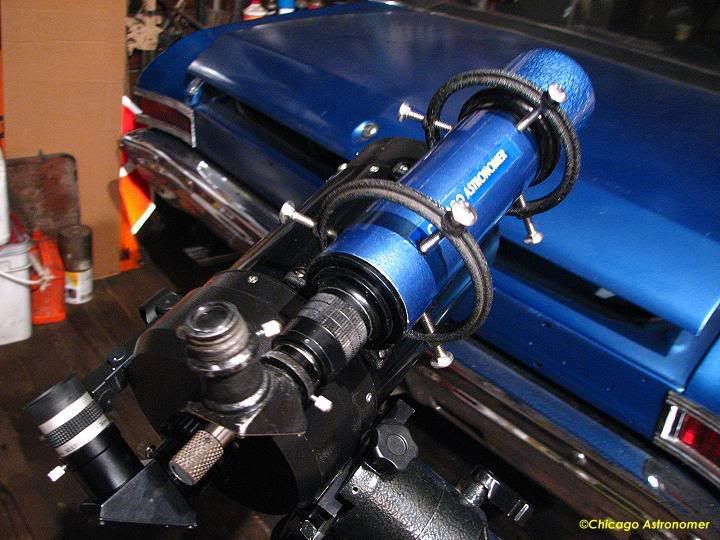
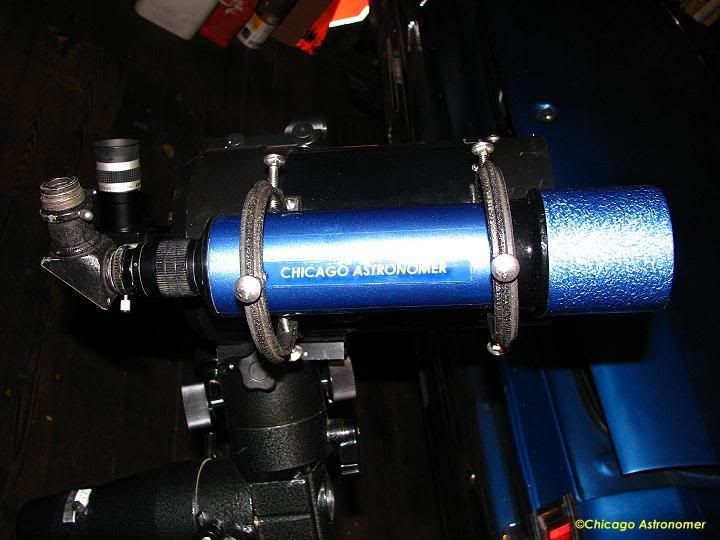
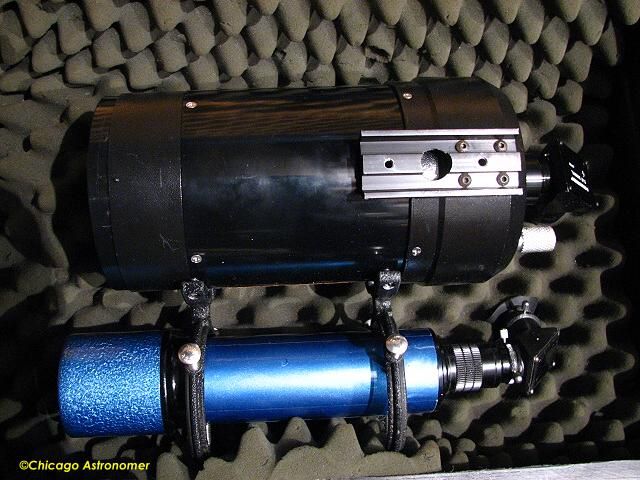
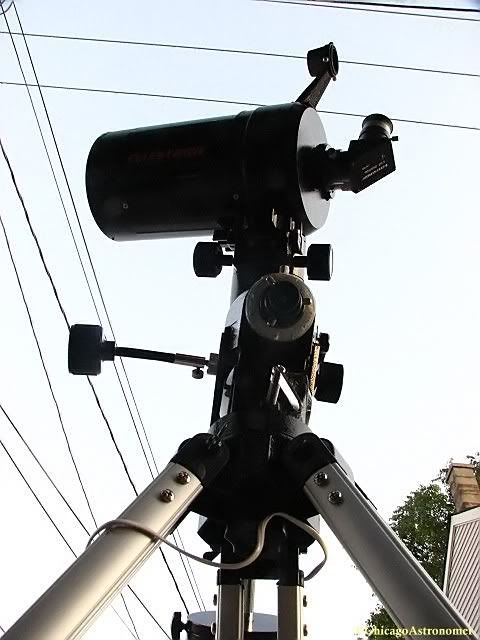
Tightening the four screws with a 1/4 ratchet, I was careful not to warp the tube...and that was that. The base of the rings do not fully fit the curve of the C5, as they were meant for some bigger scope, perhaps a 8" or 10" scope - but the rings were solidly in place with no wiggle, and I placed the shorty refractor in the rings...
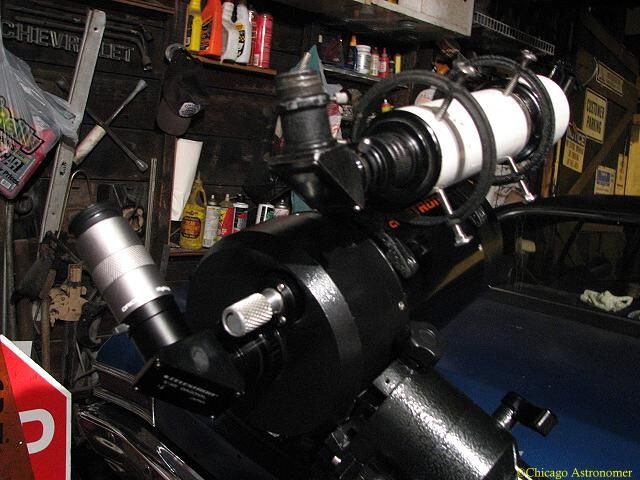
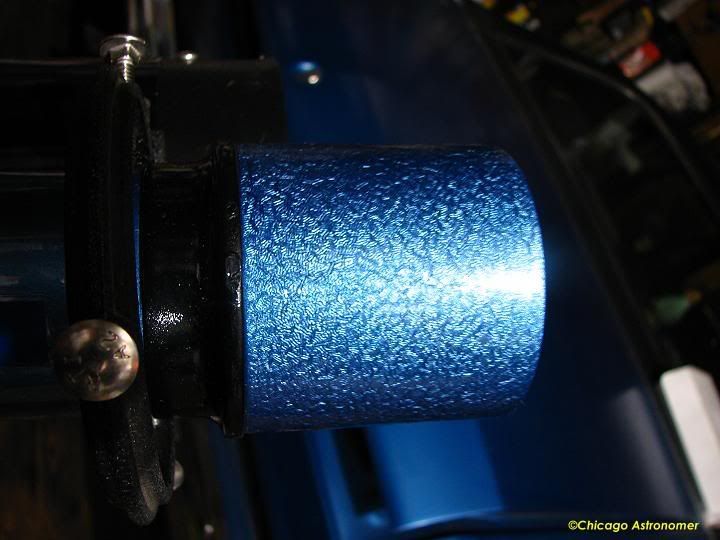
The focusing is done by twisting the knurled ring and is solid.
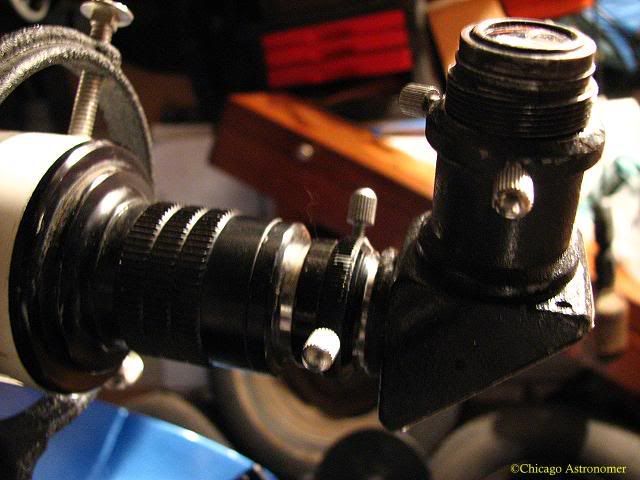
Looks sharp!
But does it work...?
I every so lightly wiped the secondary with cotton Q-tips and removed the haze and gunk without marring the "Starbright" coating, (I hope), and replaced the corrector plate and aligned it as best I could - eye balling it throught the directional, (there's about a 1/4 space around the plate to the holder base)...and then snugged the retaining ring.
It's a rainy Friday evening when this project was undertaken, so no celestial objects to target. But I often use my neighbor's chimney to conduct optical experiments from the garage and it will do.
Popping in a 40mm into the C5 and 10x Binocular eyepiece into the finder that I made into a reticle many years ago - and using a diagonal I had since I was a kid - from a Montgomery Ward 60mm refractor, (that I still have), I put it to the test.
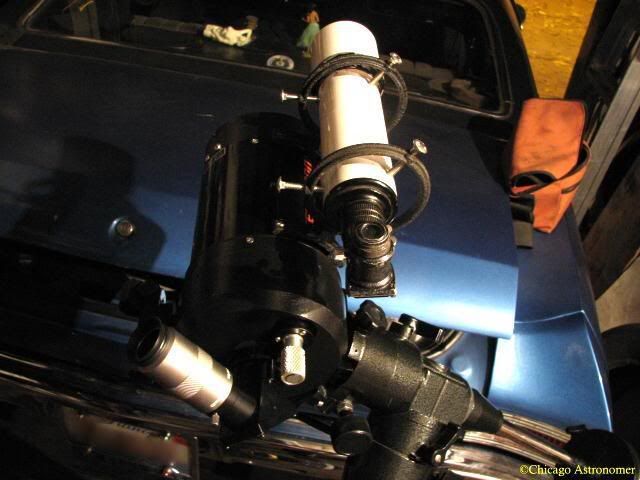
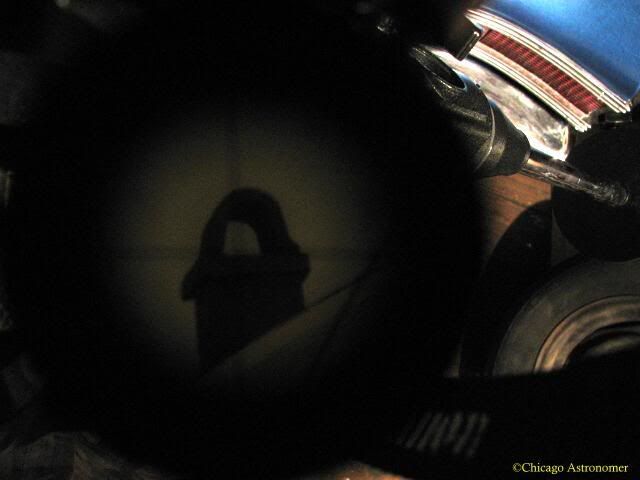
Roughly holding the camera by hand, my neighbors chimney does it's job, despite the drizzly rain. And adjusting the ring screws, (The rings originally had brass knurled screws, but missing one unfortunately - so I replaced them all with stainless steel carriage bolts - works well), I centered the chiminey...and... it works...quite well and very cool.
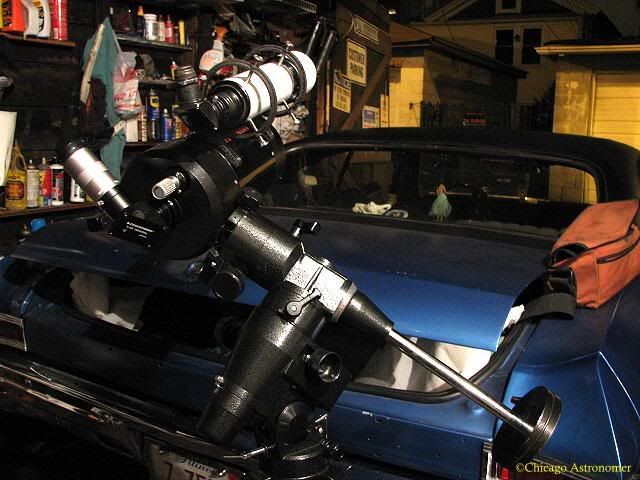
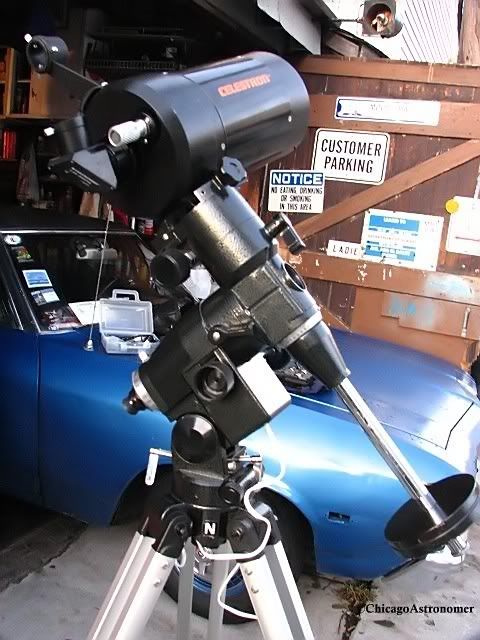
The additional apparatus assembly doesn't throw the balance off too much, just ever so slightly on the Declination axis. But just a bit of clutch friction takes care of that well. I can also add one more light plate to the counter weights too. We will see.
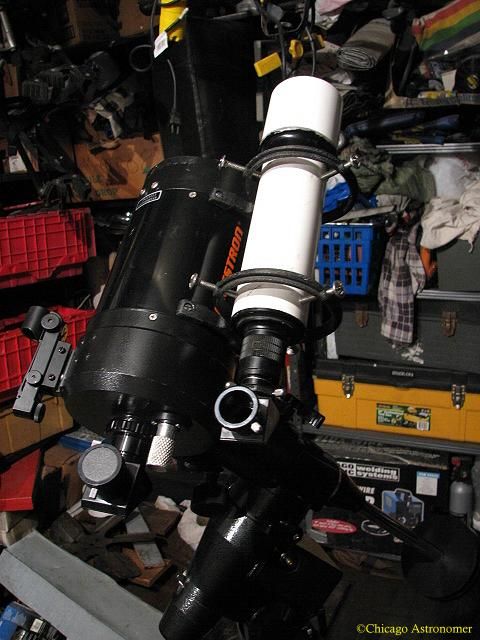
This is good, I am geekily happy I haven't destroyed the C5 and more tweaking later, but.....
Looking at the assembly now, as cool as it is, the shorty refractor tube is beat up and is insulting the C5. I then decide it's time to take the little finder scope apart and refurbish it.
Sigh.
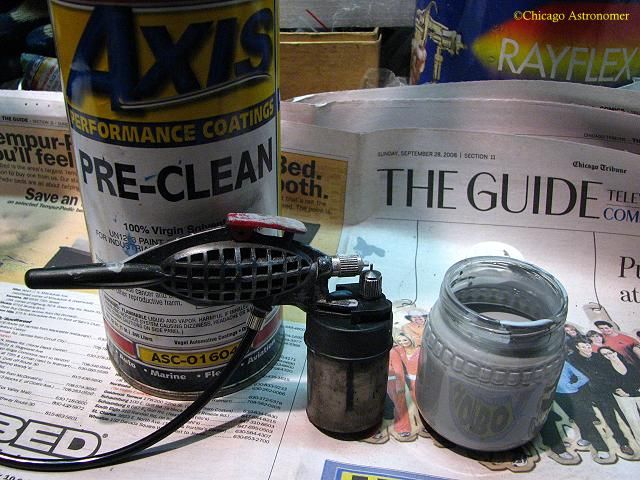
I try to dis-assemble it, but it just won't come apart. Time has solidly joined these ancient pieces together. Using a vice, pipe wrenches and friction straps...nothing. I grab some spray lubricant and carefully drop minute amounts into the threads..and bingo!...they easily come apart with just hand muscle. Sweet!.... ;D
Better life thru chemistry.
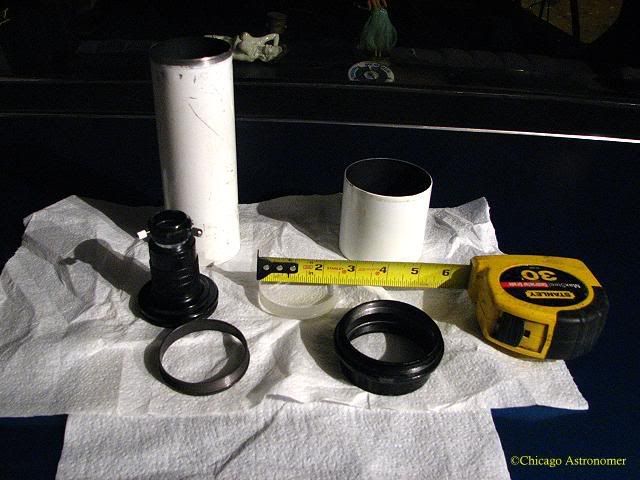
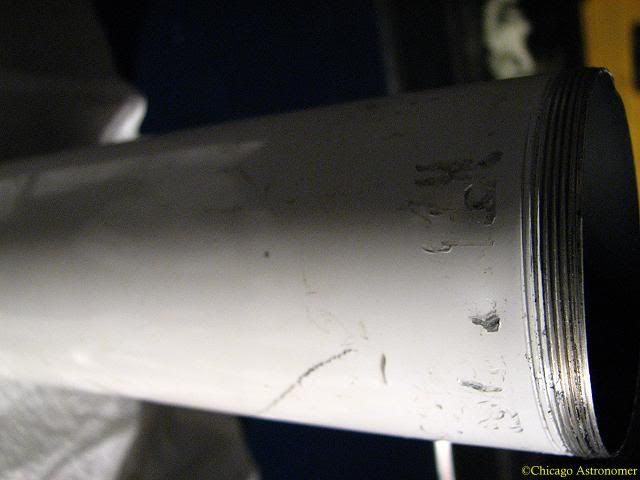
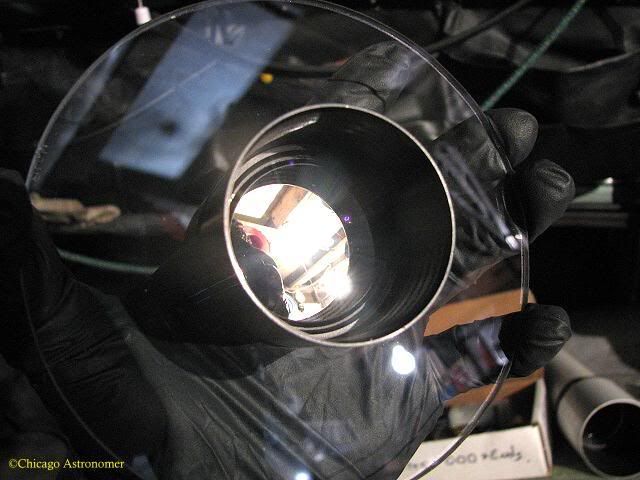
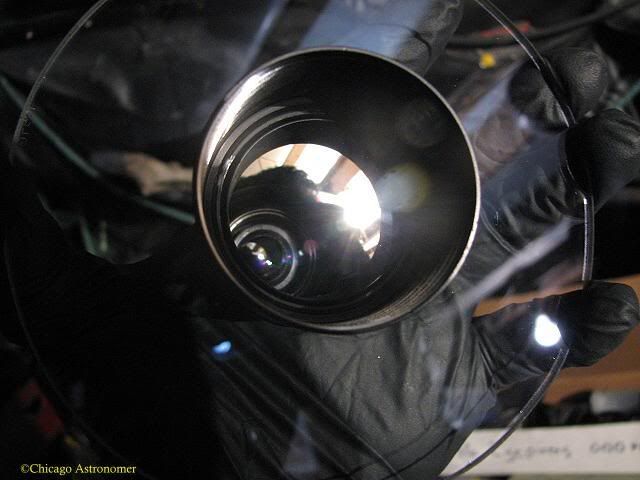
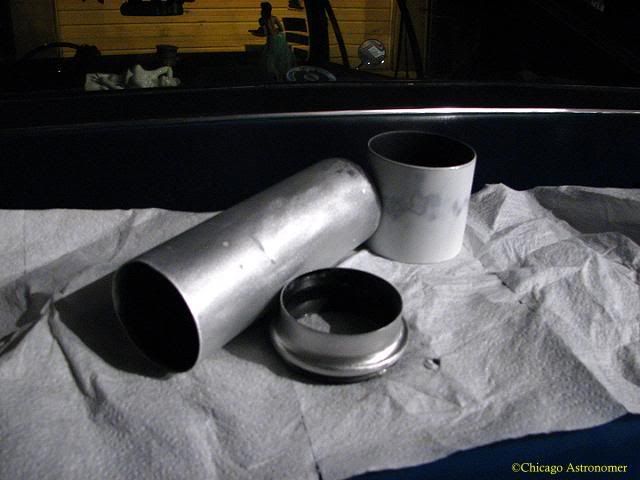
Nothing fancy here, just a simple little refractor with a triplet glued objective lens - 2.5" (63.5mm), which looks alright, albeit a little dusty...
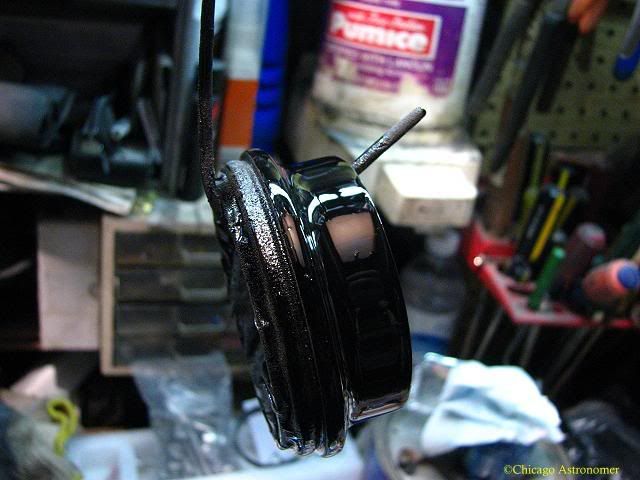
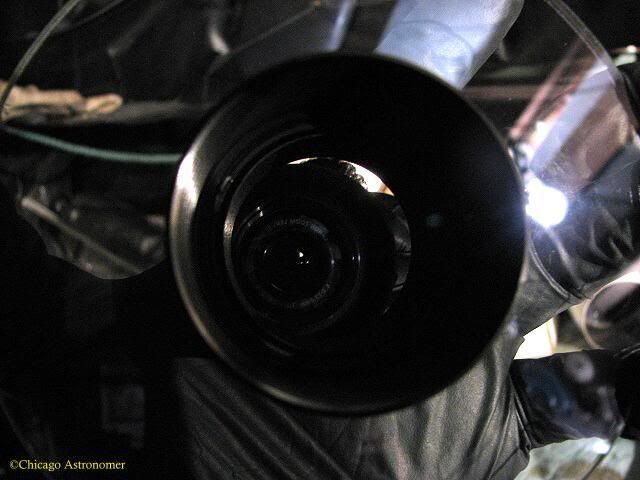
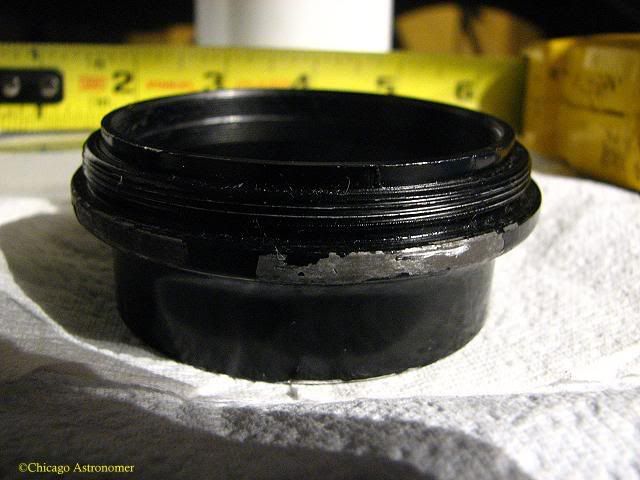
The objective holder is very banged up and will need some intense attention...
The tube also needs much attention, as it's beat up pretty bad...( I wonder what it's history is...?) I would imagine that it's circa 1960's or early '70's. It will live on at the Chicago Astronomer.
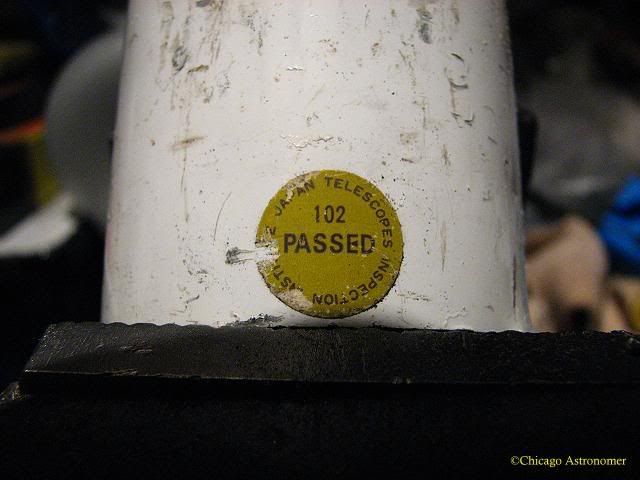
The inspection sticker on the tube was interesting, but I could not save it. "Japan Telescopes" informs me that Inspector 102 said it passed.
Some research has discovered that the Japanese Government oversaw all optical exports and "102" was handled by the "JB 102 Hoya Kogaku Co. Ltd." - "All optical products that have passed these rigorous standards are
tagged “PASSED” by the Government’s Japan Telescopes Inspection Institute".
www.europa.com/~telscope/jbcode.txt
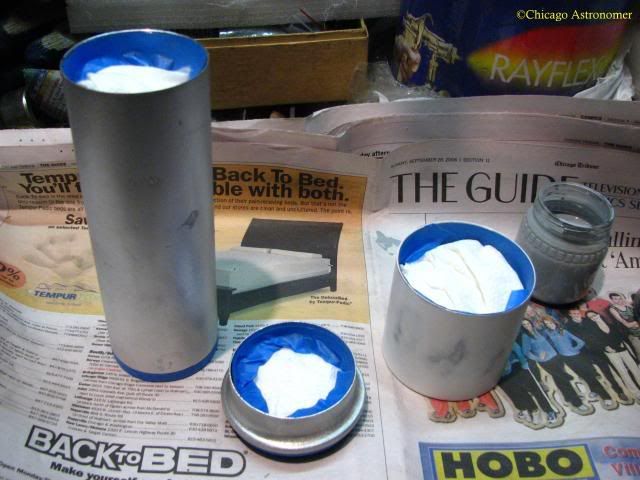
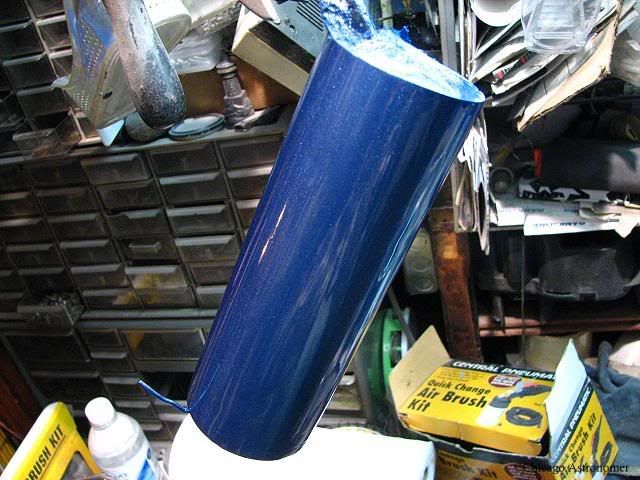
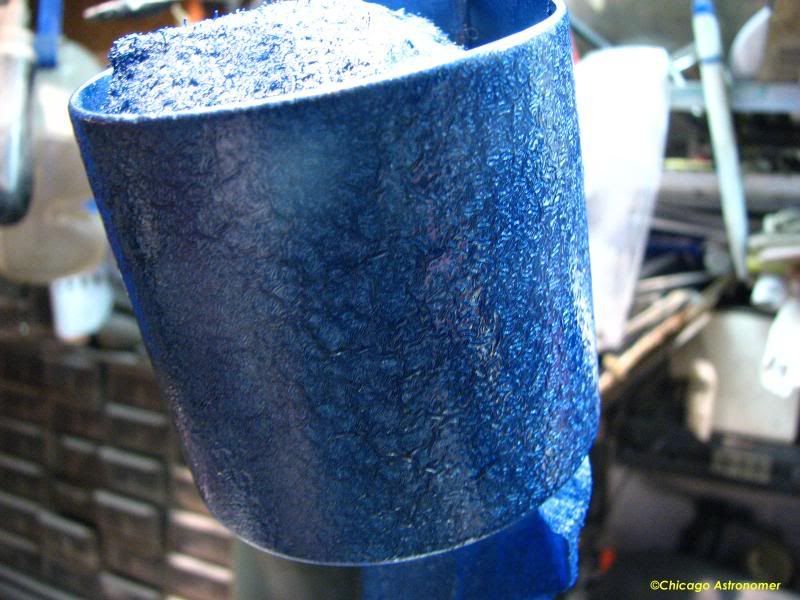
I wire brush first on a drill to remove the paint from the tube and the holder, then with an orbital sander with #60 and then #100, make it all nicely even...and came out well...
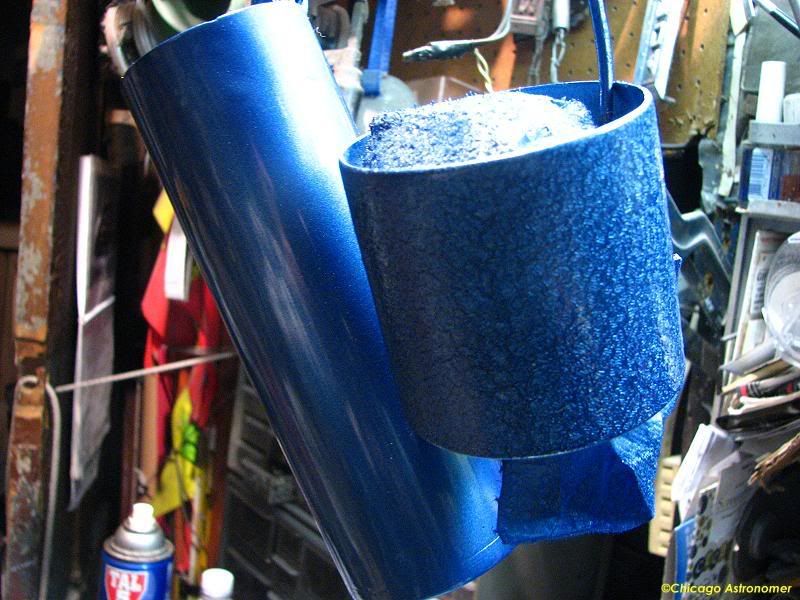
The dew cap was not bad surprisingly, but I scuffed it up for the next stage of primer application....
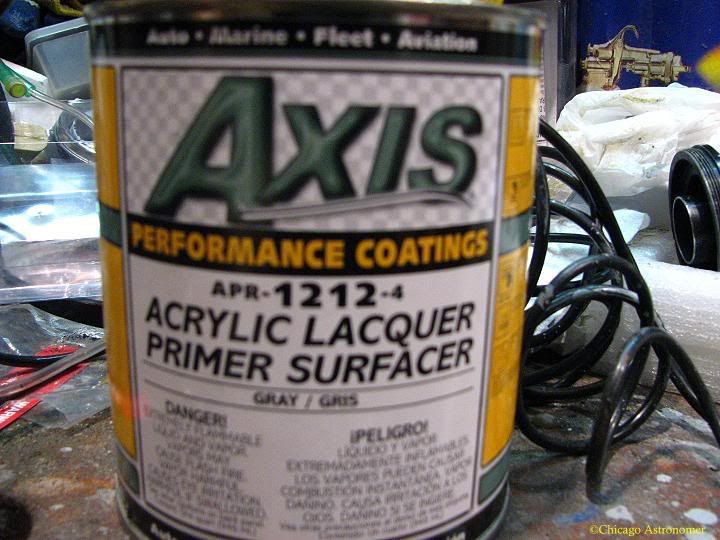
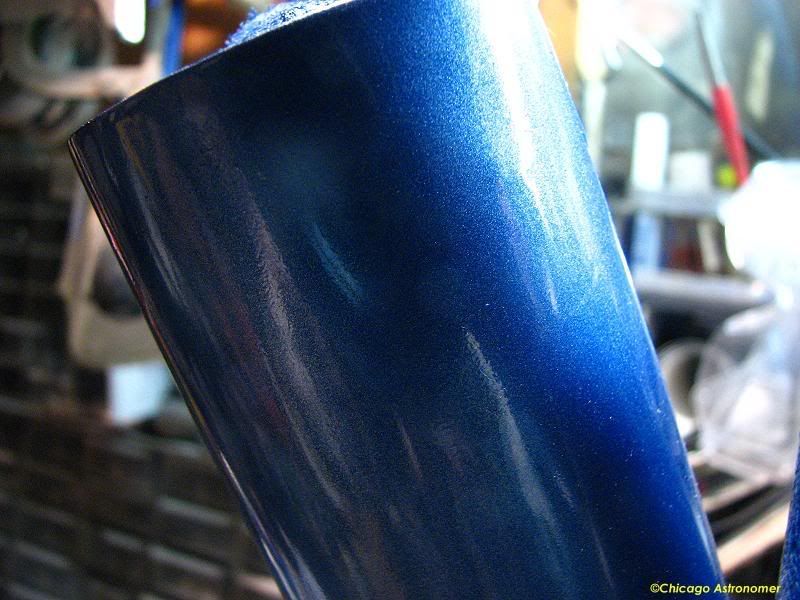
Having supplies from when I painted the Chevelle last year, I will paint the little refractor the same color as my car....
That will be part 2 of this narrative, but for free, all the parts and the C5...ain't bad....