


Post by Kalvis on May 10, 2006 11:52:21 GMT -6
Background:
While perusing Rob Nabholz’s very nice Home Built Astronomy Project page I noticed a great idea titled Easy Alt/Az Mount Modification users.indytel.com/~rnabholz/stool/EasyAltAzMountModification.htm. His project description held the possibility of making my 80mm f6 refractor into a functional “grab-n-go” for an investment of pennies and about an hour of my time. Rob gives due credit to Alan Adler’s April 2005 Sky & Telescope article “A Simple Altazimuth Tripod Adapter.” I was able to get a free PDF reprint of this nice article from my public library’s website.
What I had:
The German equatorial mount that came with my Hardin Optical StarHoc 80 refractor is a 14 pounder called the Sky View (similar to an EQ-3). I believe it is made by GSO out of Taiwan. I like having learned to set-up and use this mount, but for simple observations it can be a pain to lug it up from the basement out to my backyard or the car.
My previous adaptation:
As a stable mount for my 10x50 binoculars I had purchased a Bausch & Lomb Tall Master Heavy Duty Tripod weighing 6 pounds. For this purpose it works relatively well. However, my first attempt to adapt it for use with my refractor was not very successful. I had cut and drilled a piece from the vertical standard of some heavy duty steel shelving and made it into a modified rail. I bolted the rail onto my tripod head and attached my mounting rings to the rail like so:
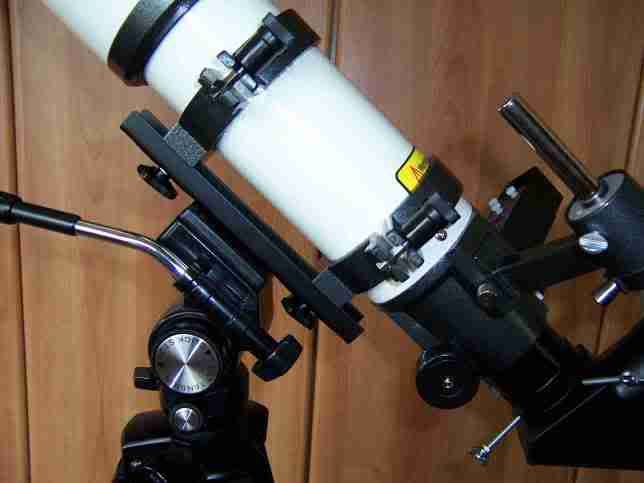
Unfortunately, the center of gravity is so far away from the altitude axis that the unit sags considerably. Pointing at and following an object was very difficult. Until reading Rob and Alan’s articles I never thought that there would be an easy solution to this problem.
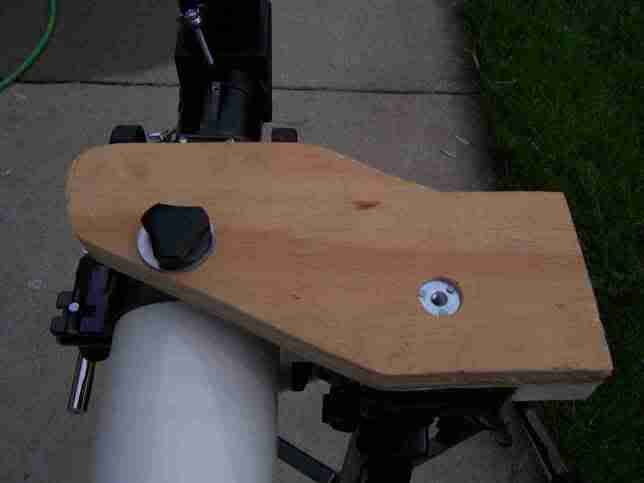
Materials:
I already had a scrap of 5-ply ¾-inch plywood, some 5/8 x 1.5 inch firring strip, a spare washer and some drywall screws. My only investment was a 70 cent T-nut with a ¼-20 thread. It had to be long enough (9/16-inch) to reach through the plywood after being recessed about 3/16-inch. I sunk this recess with a ¾-inch Forstner bit.
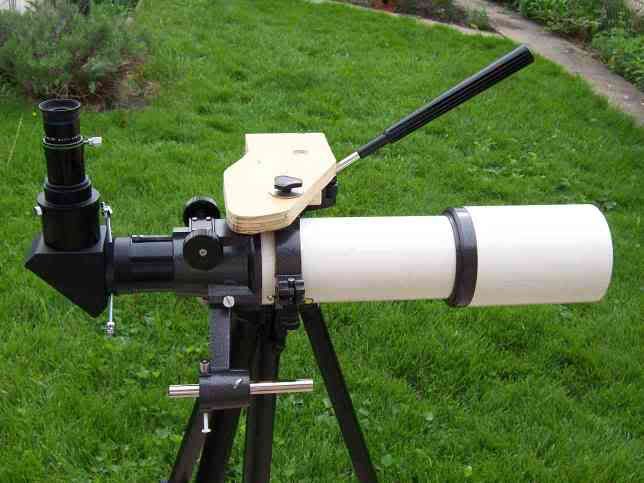
Design & Construction:
The firring strips were positioned to limit rotation of the adapter as the scope is raised up from horizontal. The tricky part was finding the position of the hole for attaching the mounting ring of the refractor. This is because the axis of the tripod attachment screw is located forward of the alt axis of the tripod head.
I also wanted to locate the scope as close as possible to the tripod. The objective is to minimize the tip-over tendency which increases as the distance that the scope’s center of gravity is offset from that of the tripod. As can be seen, I came a little too close for comfort!
The results:
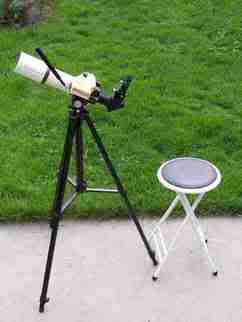
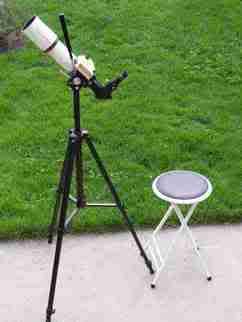
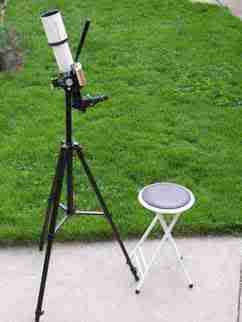
Pro:
Very good balance. Scope remains stationary once aimed.
Excellent vibration dampening. Mount recovers from a bump in a couple of seconds.
No sagging because no tension needs to be applied on the alt axis of the tripod head.
Adjustability of center column. Cranking up/down brings eyepiece to desirable height.
Fast and easy retargeting. All I do is reposition my lightweight stool.
Convenient location of focusing knobs and laser pointer.
Con:
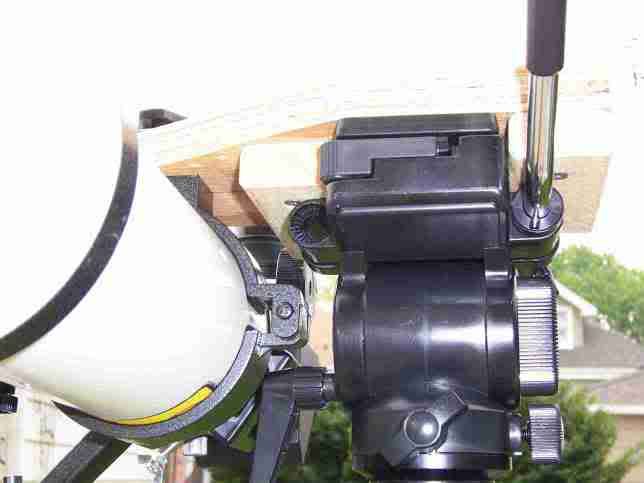
Inconvenient location of tripod head handle. This is inherent in the tripod’s design.
Problem with interference on the alt axis locking knob. I positioned it a little too close!
Movement is still not silk smooth. That’s what you get with an inexpensive tripod and a non-removable head made largely of plastic
Next steps:
I’m consider this a prototype. My next generation adapter will have more attentive craftsmanship, be sanded and varnished or painted. In addition I will be careful to position the scope an additional ½-inch further away to prevent interference with the tripod when targeting near zenith.


