


Post by Chicago Astronomer - Astro Joe on Jul 7, 2010 2:20:28 GMT -6
Making my own Bahtinov Focus Mask in 2 Hours
- Part 1 -
- Part 1 -
Exploring SCT websites and groups, I discovered some time ago that many are employing "Bahtinov Focus Mask s" for their SCTs.
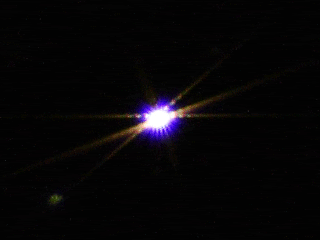
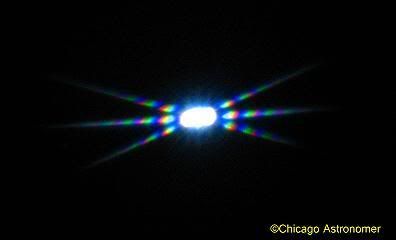
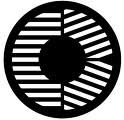
What the mask does is to create three diffraction spikes when the scope is aimed at a relatively bright star and the mask slipped over the aperture of the SCT. One can easily observe the central spike move in relation to the two other ones that stay pretty much still. When the central spike is centered - you are in sharp focus - then you take off the mask and start your observing or astroimaging.
I have found these masks at various astro supply houses and running the price range from $23.00 to as high as $60.00 for a mask that will fit a C11.
I was just about to fill in my order with a website, ($27.00 delivered), when I came across the focus mask.com people, who were also selling masks, but included in their site PDF plans to make one at home.
Hell, I got tools and know how to use 'em....so I thought I would give it a try.
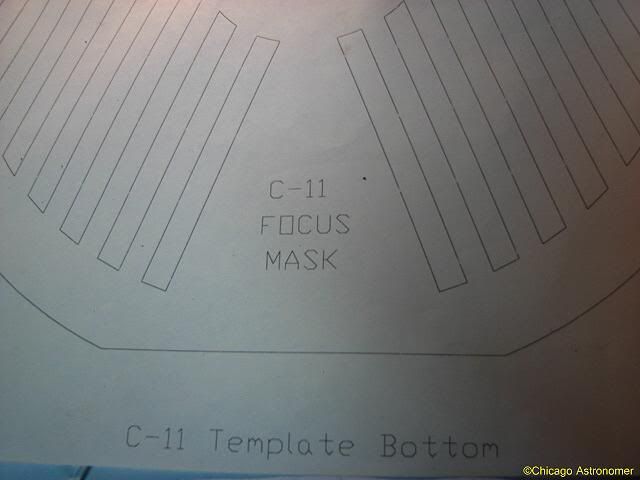
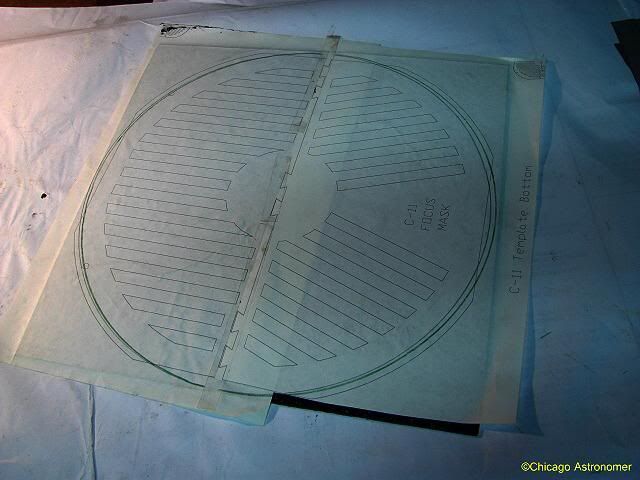
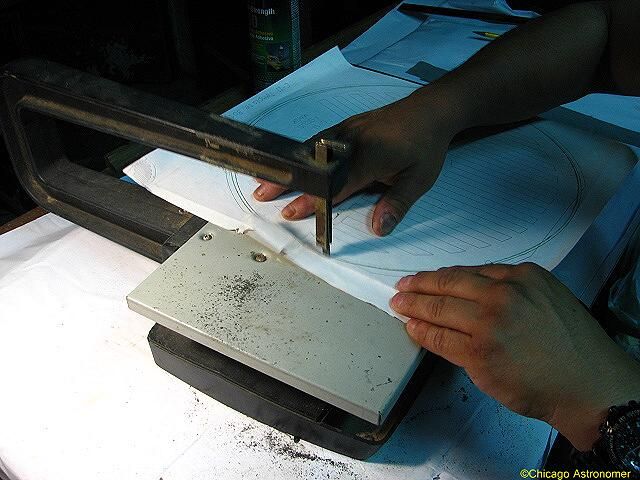
I download and print out the C11 mask plans from www.focus-mask.com/C11_Bottom.pdf - and print the upper and bottom halves of the mask onto 81/2 x 14" legal size paper and tape them together. ( I had to tweak the print setting so as to maintain proper print out size - the first couple attempts printed them out too small.)
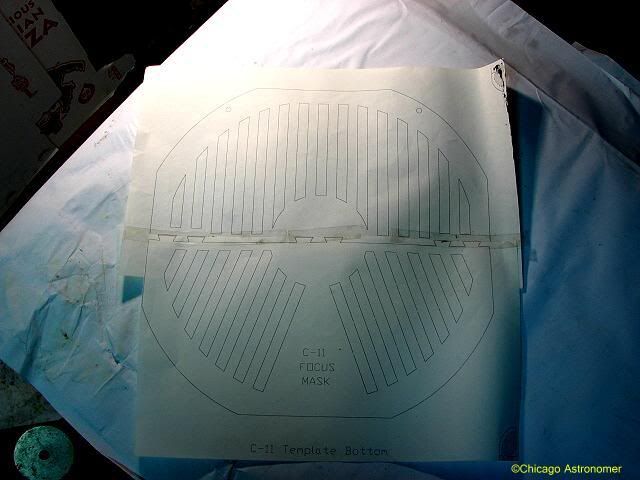
With printout in hand, I head out to the workshop and bring the C11 OTA to the worksite. I place the printout up to the Corrector plate - and it looks too big - and it is...
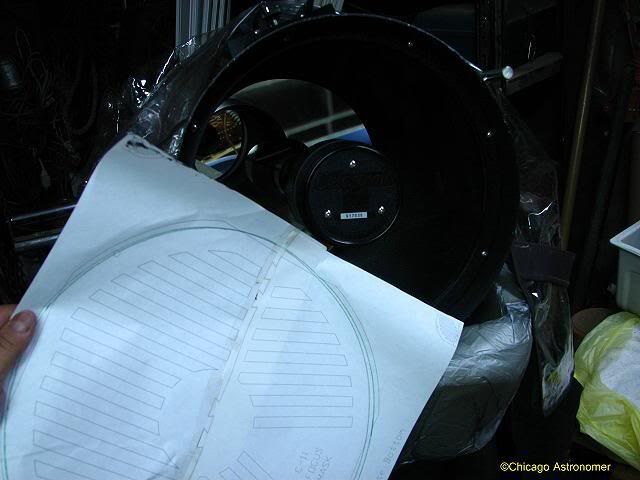
Slightly big - about a 1/4" all around - seems I didn't tweak the printer on the nose. So I grab the the aperture cover of the C11 and trace out the circumference of the lid on to the plans for a good guide...
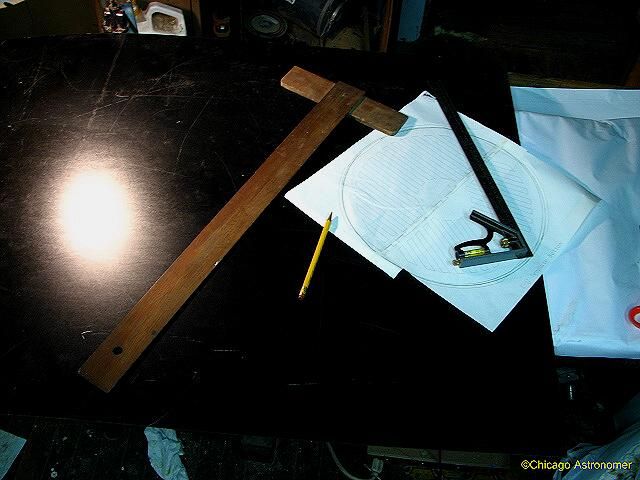
Now, with a good circle to follow, I was ready for the next step...
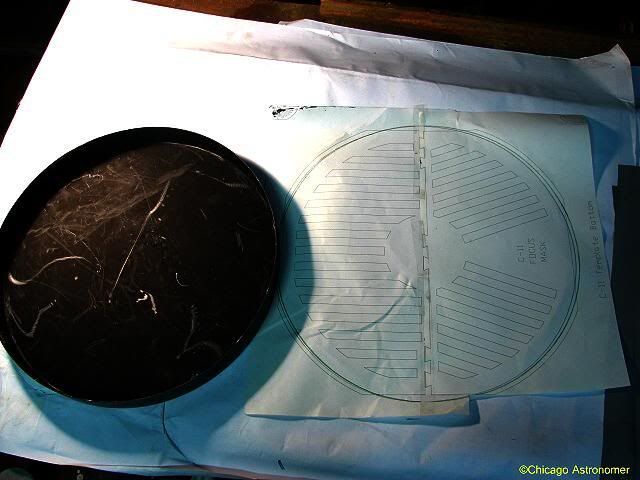
What to make the mask from...?
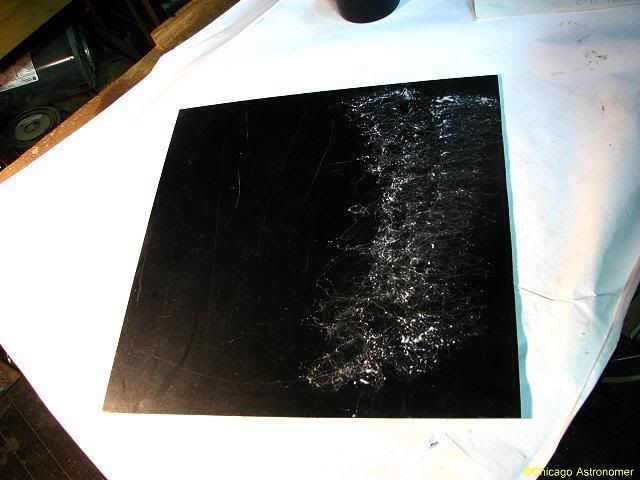
In the workshop, I have these large black sheets of some sorta heavy laminate. I have used them for the backs of cabinets and other projects around the house. It will make an excellent material for the Bahtinov Mask...!
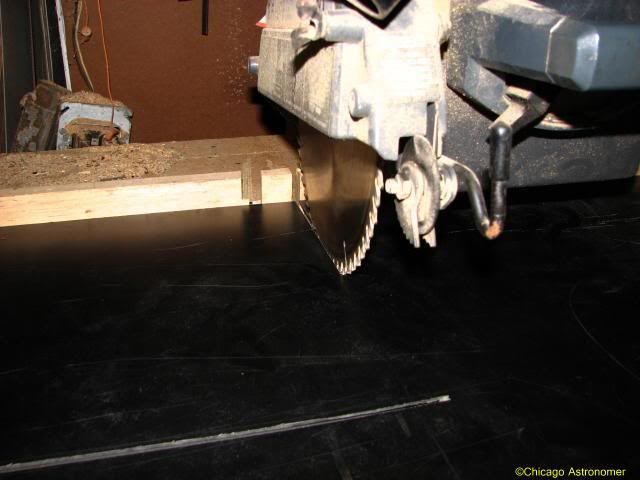
I measure off a nice containment square and cut off the section on the radial-arm saw...
Using the same spray adhesive that I used to attach the flocking in the C11, I spray the dimensional laminate with the 3M glue...
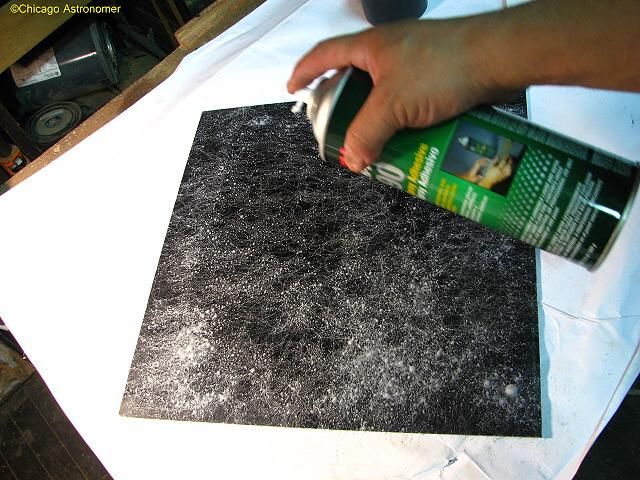
Give it a little time to dry and press on the template onto the laminate.
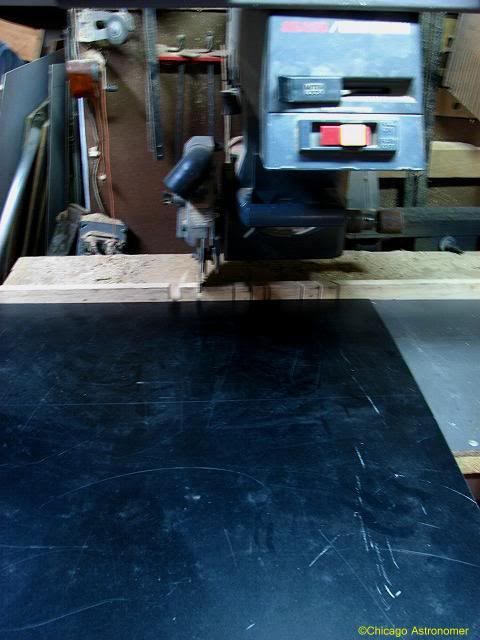
I started out using the small scroll saw to start the outer cut....
...but discovered it was taking much too long and switched over to the much more efficient band saw...
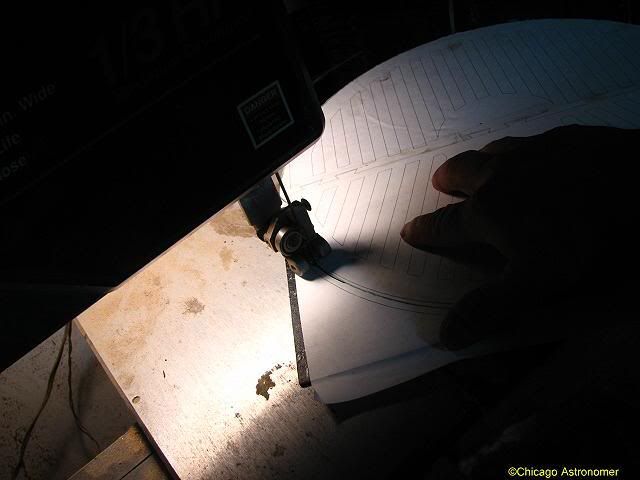
With a circle cut, we figure out now, how to cut out the slots...
I could go back to the scroll saw, but now that means I must drill a hole in each slot to slip the blade thru....ugh.
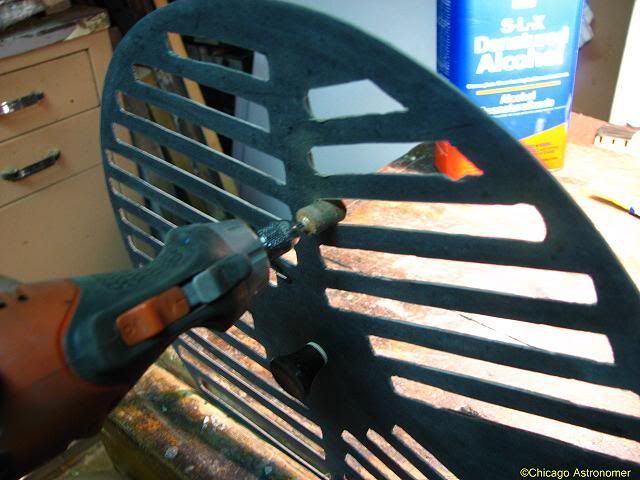
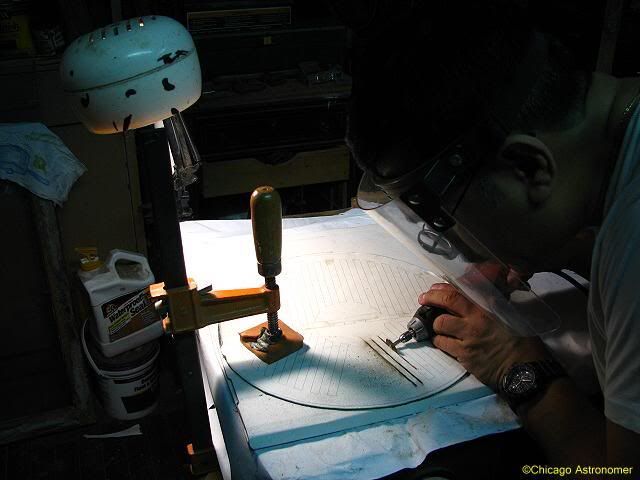
The right tool for the right job....I will use mt rotary tool to cut along the lines...
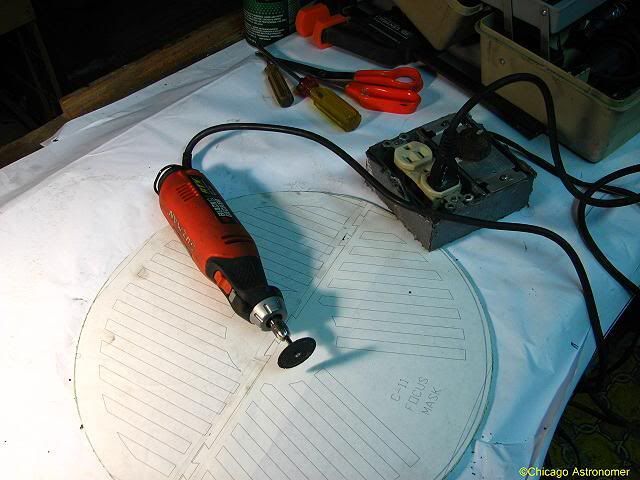
A handy tool, it has come in handy many times. (Along side is the homemade potentiometer made from a dimmer switch, outlet and electrical gang box. It allows me to control the speed of the tool that is plugged in - and originally, I made it to better control the juice for my Mig welder.)
I start out with the abrasive wheel...
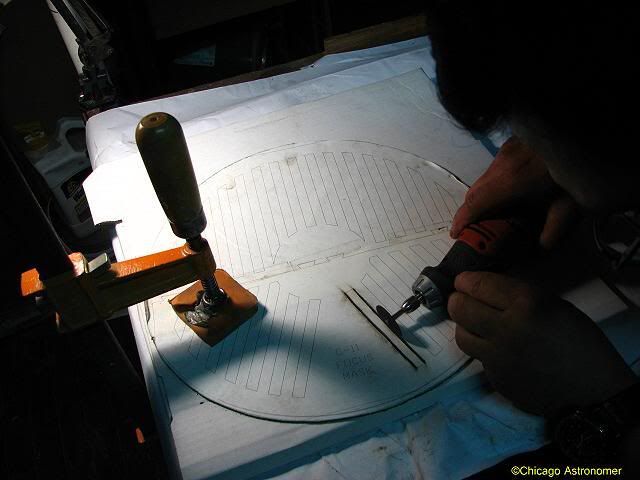
Works, but a lot of smoke, so I switch over to a diamond cutting wheel...and it's much better and cleaner...
I place the material over a pizza box, several I had left over from my C11 cleaning & Modification project. I really don't want to dig into my workbench...
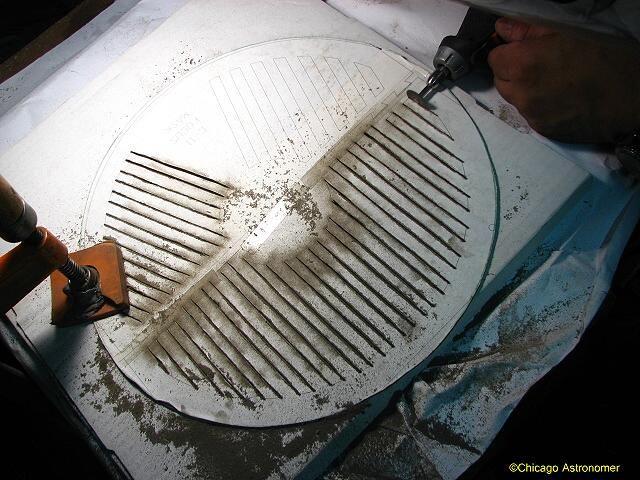
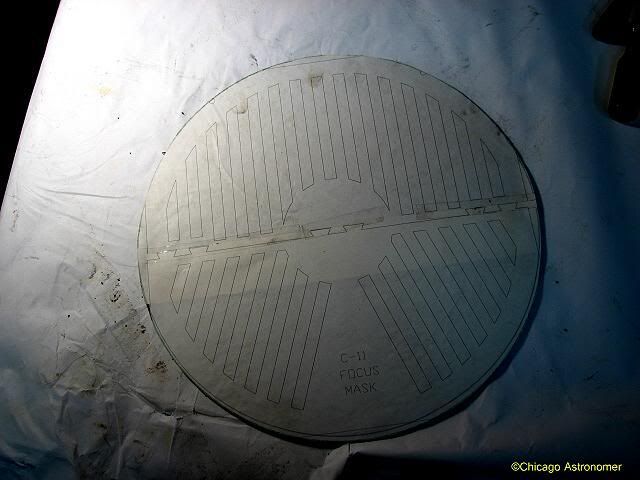
And in no time....all my slots were cut...
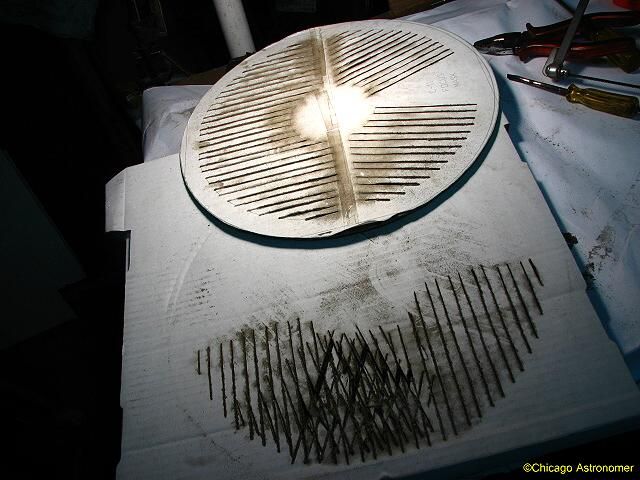
The pizza box buffer worked exceptionally well, But now...how do I release the cuts...?
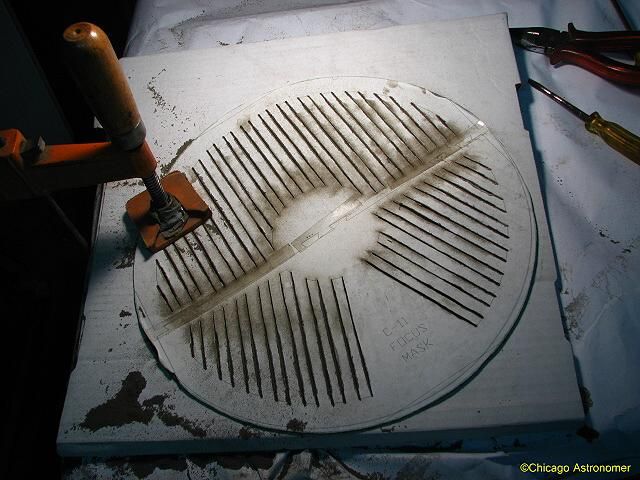
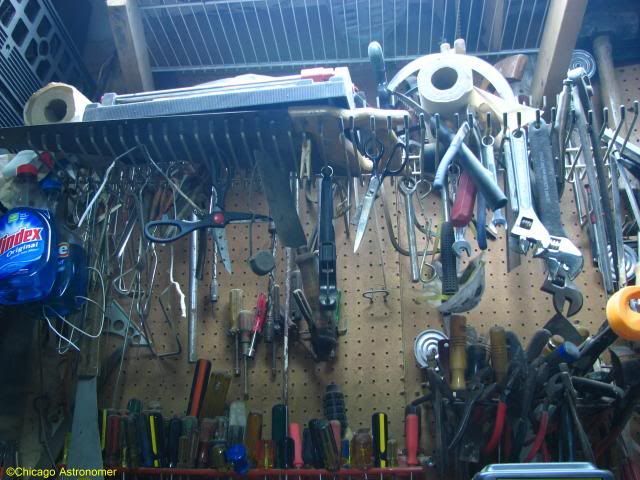
I grabbed my coping saw from among my Rack-O-Tools...
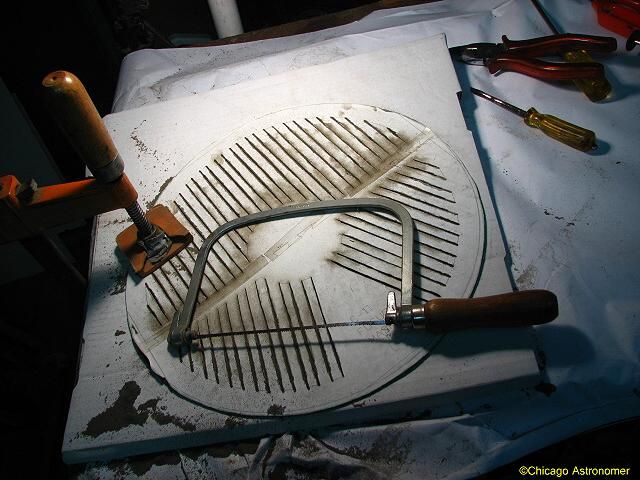
I tried doing one slot, but it was taking much too long to feed the blade through and manually cutting the ends free. I decided to drill each end with a wood drill bit. Did the job fast and well.
I did have to file down each end from the rough drill...
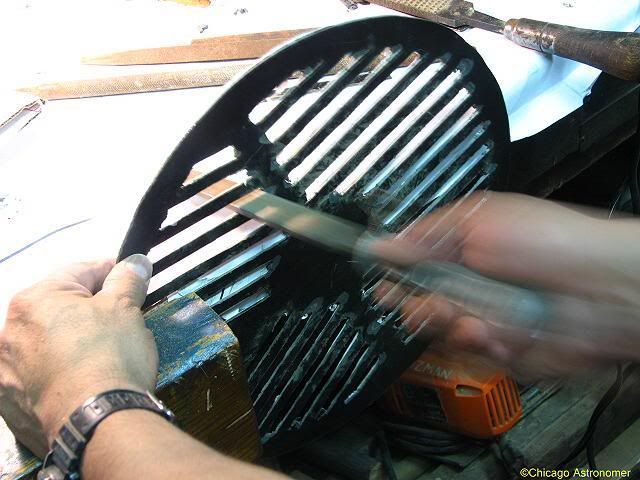
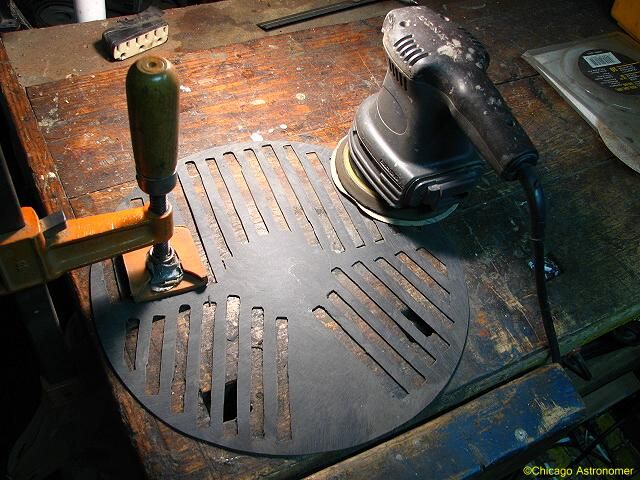
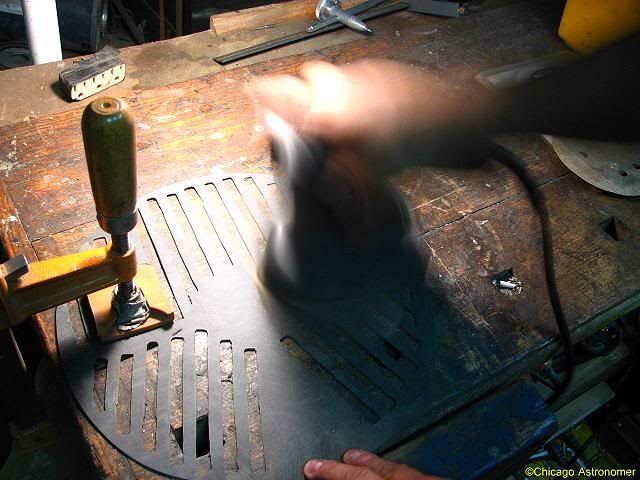
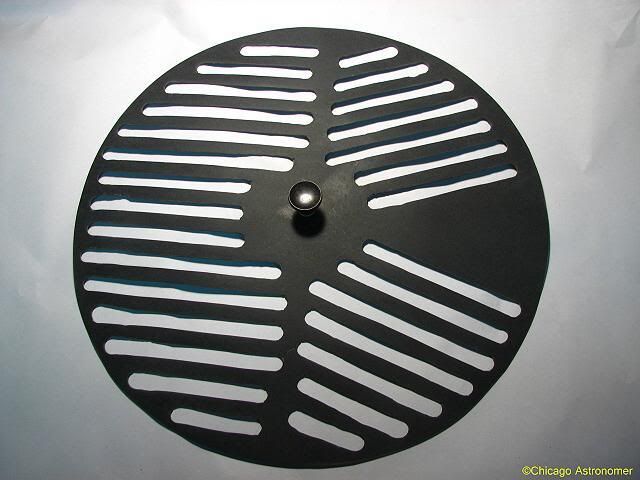
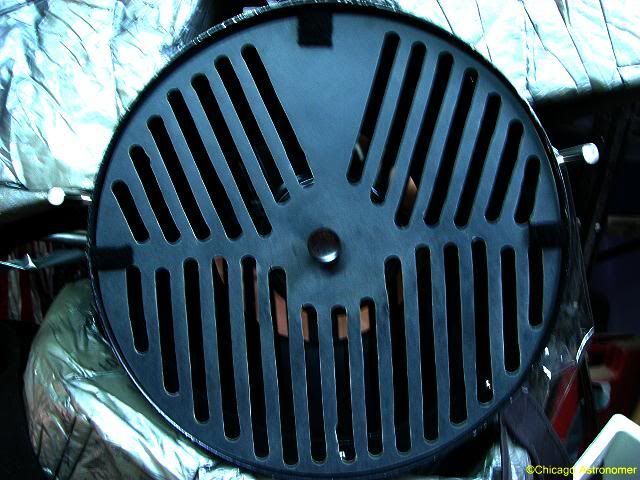
And here is the Bahtinov Mask, ready for finishing and testing...
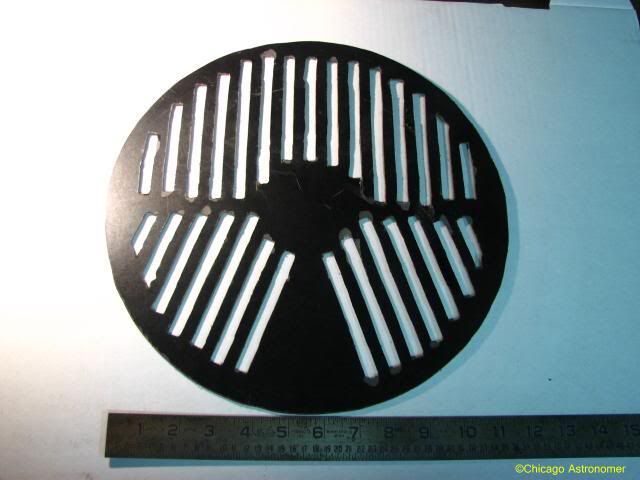
I need to sand it smooth and I think I may paint it flat black...but that's for tomorrow...

I' am anxious to install it and see the diffraction spikes. Is it worth the effort...?
I dunno.
But I saved $30.00 for two hours of work and can use the thirty bucks to apply it for a focal reducer/field flattener for the C11. But a great thanks and shout out to the www.focus-mask.com people for putting up the free plans... ;D
More in part two.