


Post by Chicago Astronomer - Astro Joe on Oct 17, 2010 22:22:08 GMT -6
Successfully replacing a yanked out RJ-12 cable pad port on the Losmandy mount.
On a recent impromptu observation night by the Adler...
( astronomer.proboards.com/index.cgi?action=display&board=StarParty&thread=2922&page=1 )
...my Dec cable somehow got wrapped around the mount and yanked out the socket it plugs into when I started to polar align the mount. I heard a "snap", but thought nothing of it until I could not nudge the mount in one axis via the control pad, but with the other working fine.
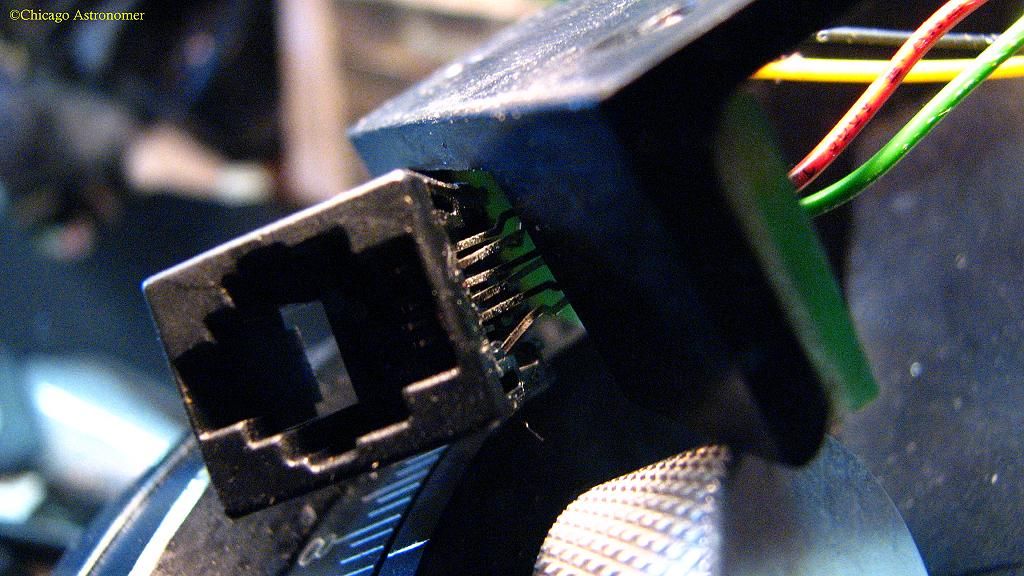
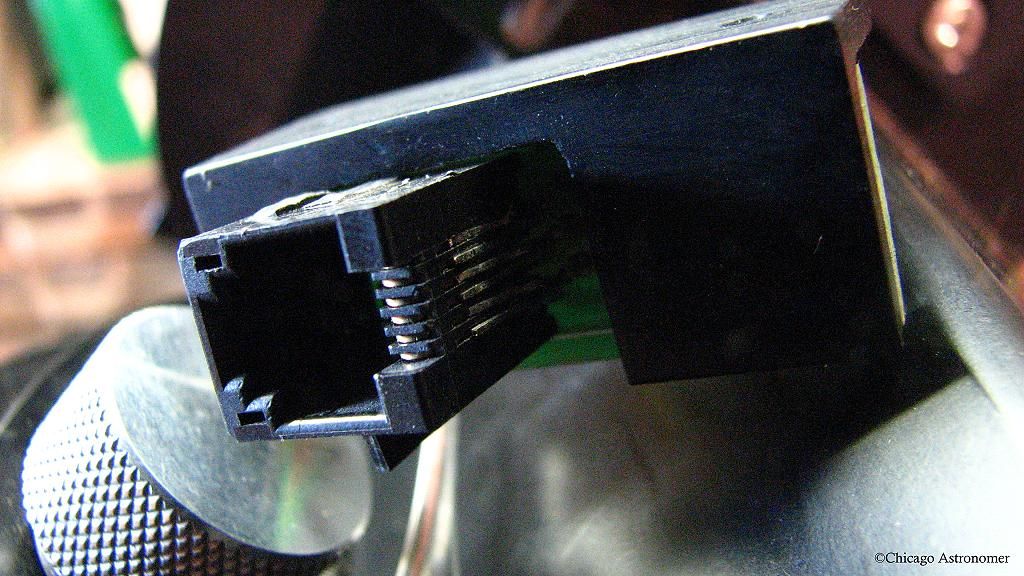
Checking the connectors, I discovered what had happened and really upset me. It pulled out the entire RJ-12 six pin socket from the motor housing, breaking off two pins doing so.
Damn...

I continued the session that evening as the R.A kept tracking well and didn't put too much of a hamper on the evening's viewing.
But still....
I had to open things up and see how I could repair this awful accident or maybe I could not. On a warm Saturday afternoon, I removed the mount from it's transport case and proceeded to work on this in the garage...
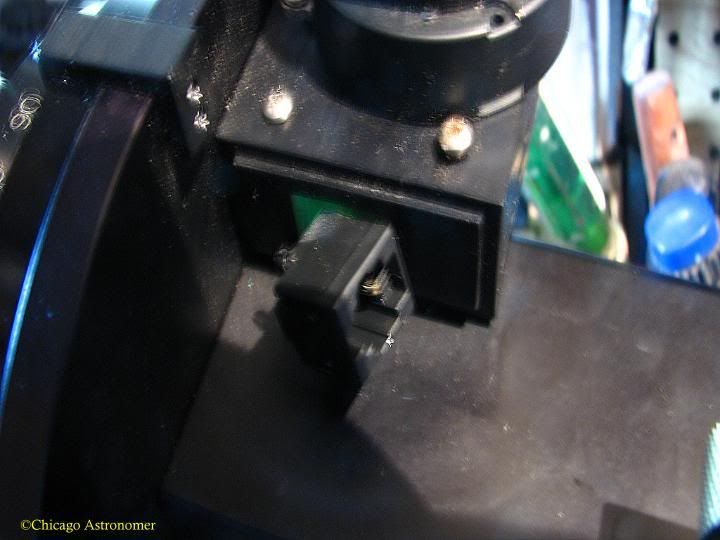
We start the disassembly of the drive housing, motor and connectors...
Not good...not good at all.
Pins were pulled out from the back out of the socket. I had contemplated on soldering new extension pins to the ones that broke, but elected to just replace the entire socket. I used needle nose pliers to crack the casing and remove it bit by bit, but as I squeezed...parts flew about in the garage.
Well, at least it was off....

Six solid pins and the circuit board looks good. If I have to, I can always directly solder the cable wires to the pins, but I would rather have the option of the cable release and a socket. No point in keeping the two longer pins, so I snip them equal...
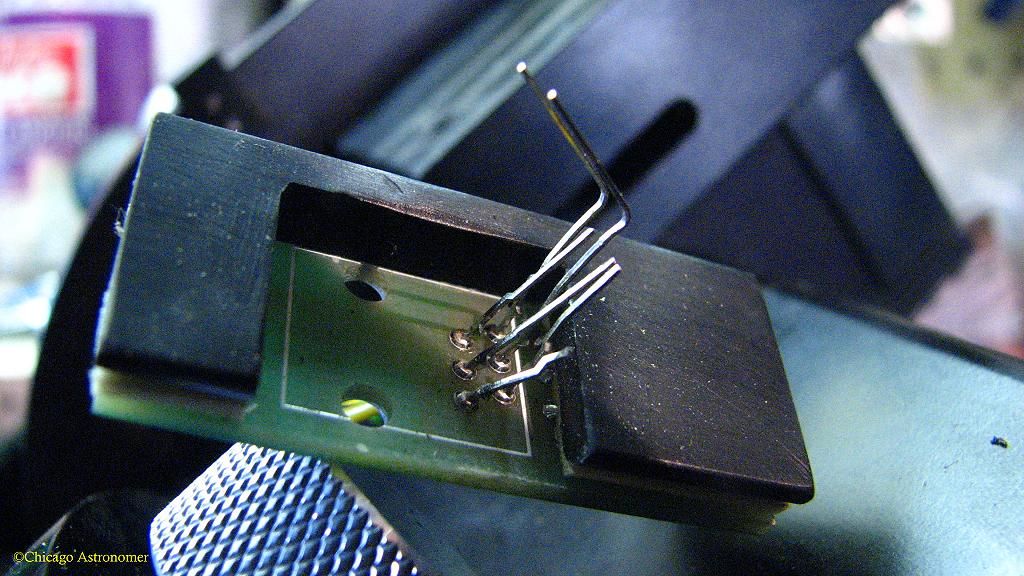
I have clean solid pins..now for a socket.
I look in my collection of phone & data cables. Find plenty of RJ-45 & RJ-11 sockets and cords...but not the right six pin socket connector. I make a trip to Radio Shack, but they are absolutely useless in what I need and looking around some, do not have the right socket. They kept trying to push a RJ-45 cable on me.."but I just need a six pin socket" I keep telling the woman. I find on my own a six pin cable connector that I could sorta adapt to my needs. I get it, but not happy about coming up short.
Mulling it around, I think that maybe a computer would have such a data port. I go to my "Computer graveyard" in the attic and look around.
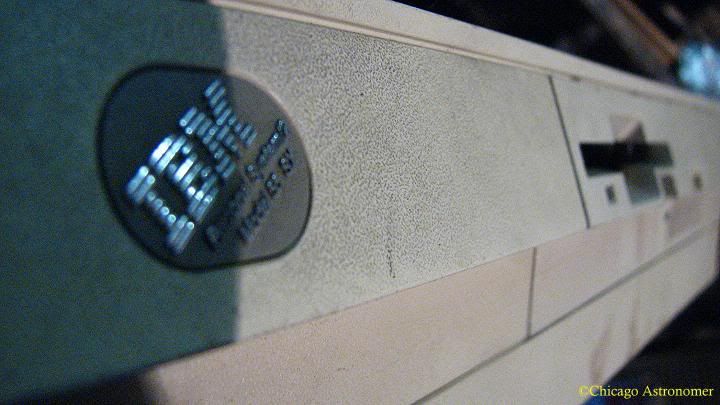
(Just a week ago, I had started to clean out old and useless computers and 15" monitors I have stored up there and piled them aside for later removal.) I look at a computer on top of the small pile. It's a ancient IBM PS/2 - released in 1987 and running Windows 3.1...

I remember that I picked two of these in an alley on Chicago's Southside in the late 1990's...."cause you never know when they will come in handy for parts". It even has a slot for floppys!
I look in the back...and there they are!....
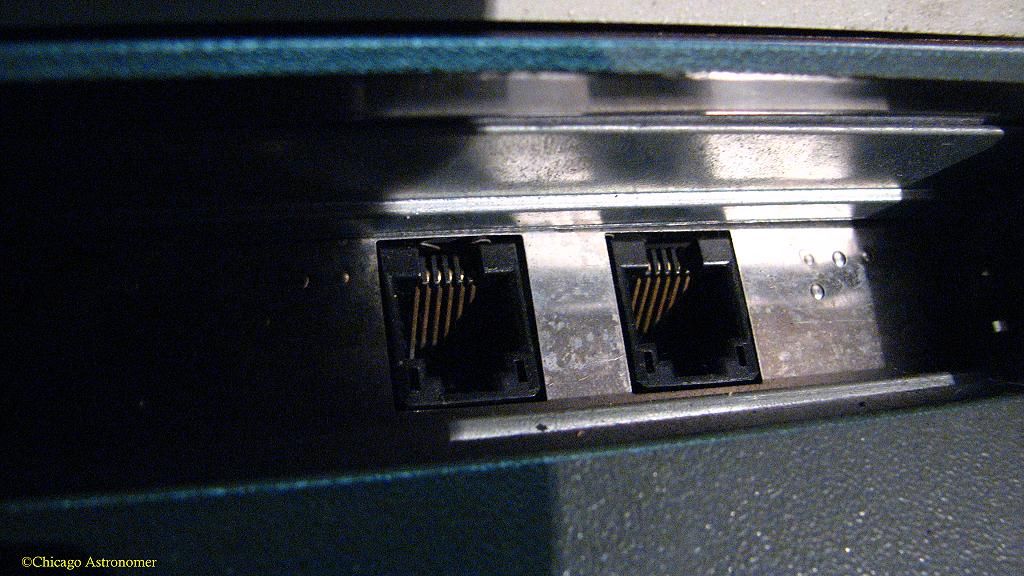
Incredible...

All the times I have been nagged to clear these out by well intentioned women and put it off has just cashed in!
I look at the other PS/2, and it does not have any sockets...but ok, I got two here.
;D
I take down to the garage and start the dissecting...
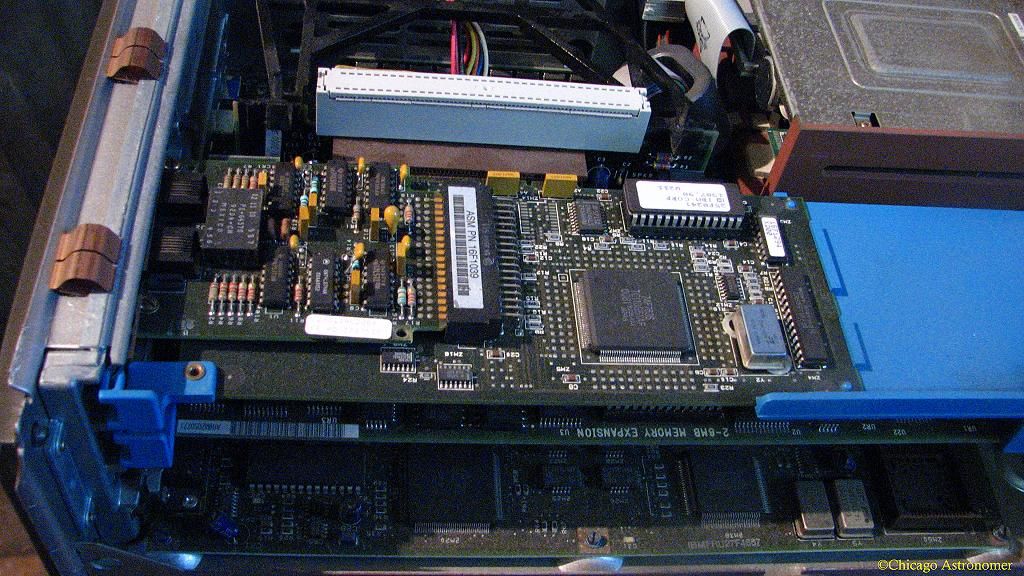
It's like those matryoshka dolls, where one doll is in another, I keep peeling away at one-time cutting edge technology till I get my prize...

And there they are.
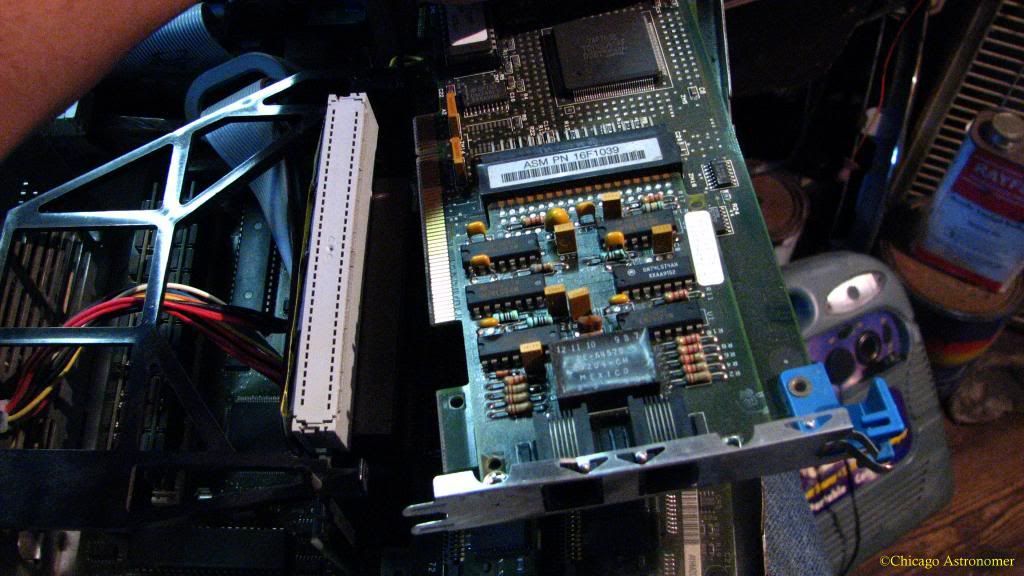
I clamp the circuit board in a vise and start to remove the top one. But....it breaks..shattering into many pieces and flying across the garage!
Nooooo!

So close and only one left. C'mon baby....
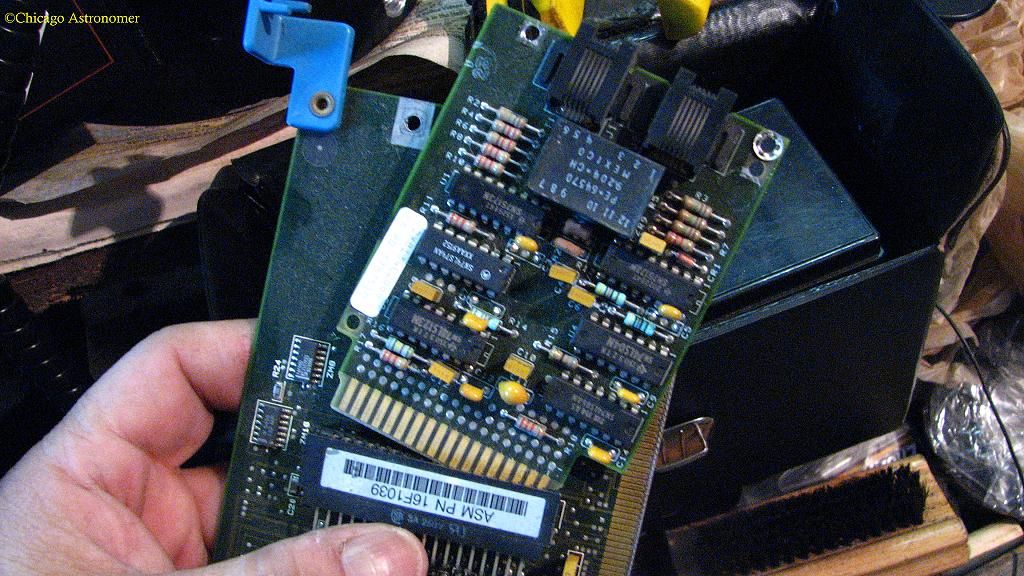
This one slips off remarkable easy and without fighting me. Nice.
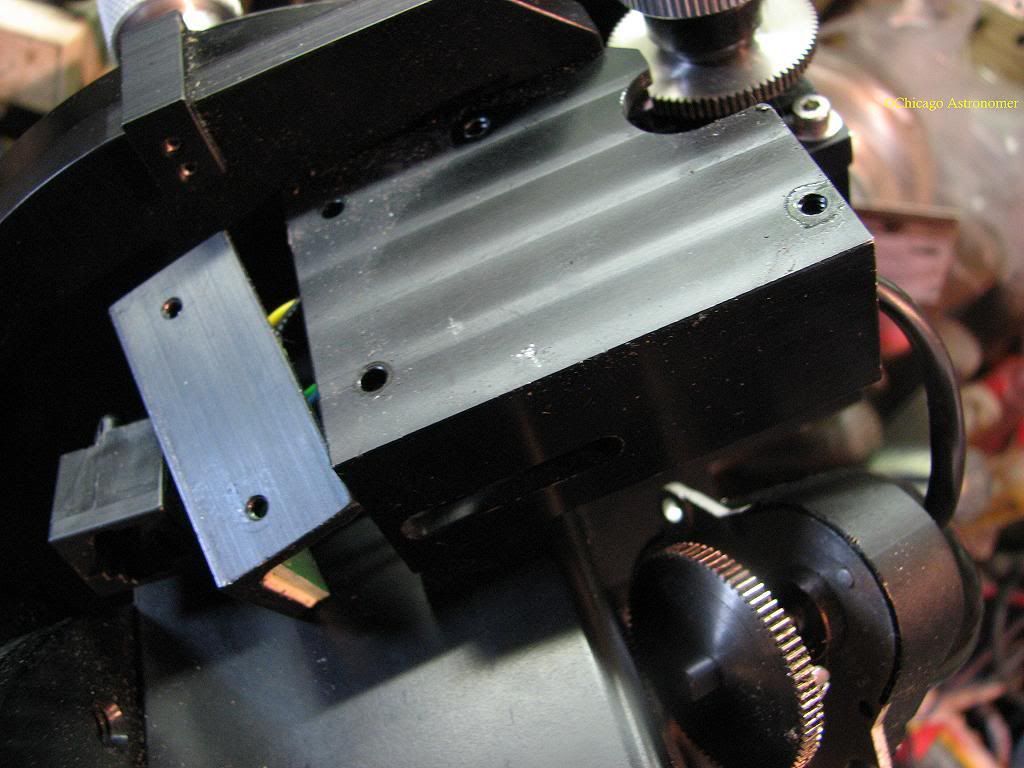
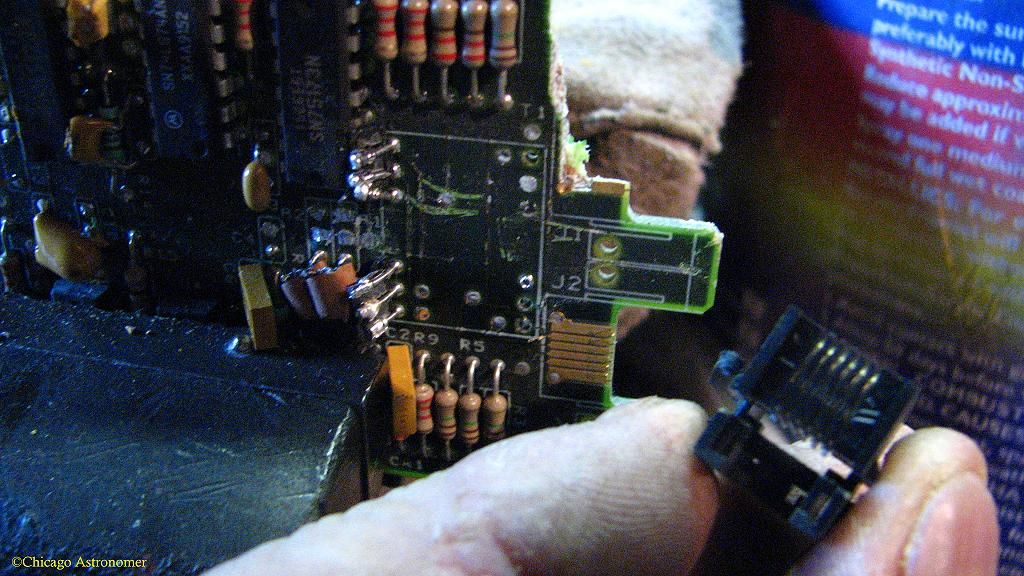
Now, with both solid pins and socket, all I need to do is to mate them together, but how. I thought about soldering the socket to the pins, but no. Deciding on a pressure contact option between the metal surfaces. The new socket fits perfectly in the space where the old one was, a little proud of the surface..but ok - but missing the two little prongs that fit into the circuit board. No big, Cyanoacrylate or "Crazy Glue" will secure it well.
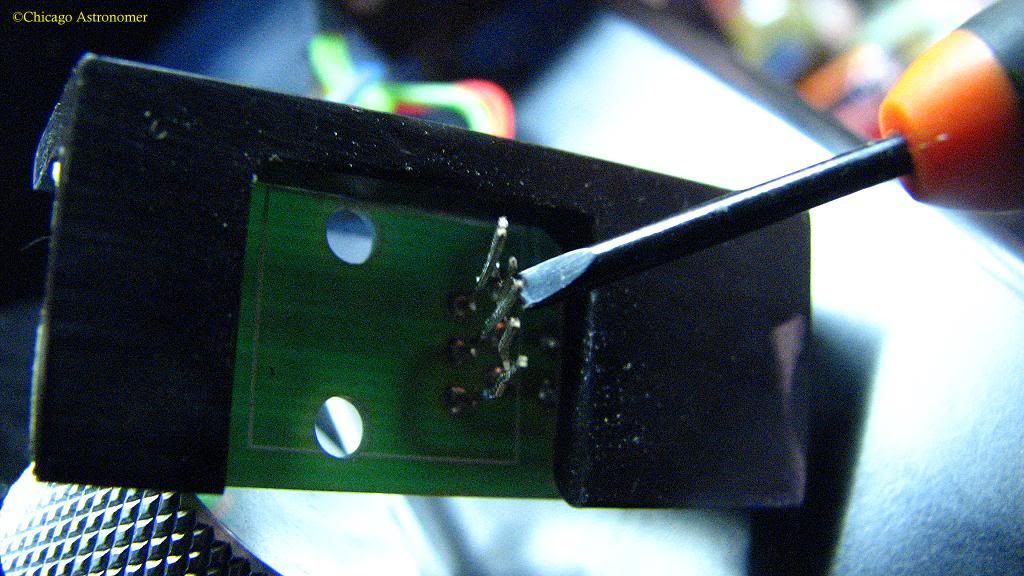
I place it into position. but the pins do not make proper contact, as they need to be bent "forward' some. I do this several times until there is good tension between the two mating surfaces.
It all looks good, but in testing, all is not working right. I can hear the motor whir, but not seeing the gears turn. Pushing down on each pin with a mini-screwdriver I find that two pins are not making strong enough contact. So removing the socket, I bend some more, hoping that the pins do not break off at the circuit.
I need three hands to hold the screw driver, the socket and to push the control pad button...
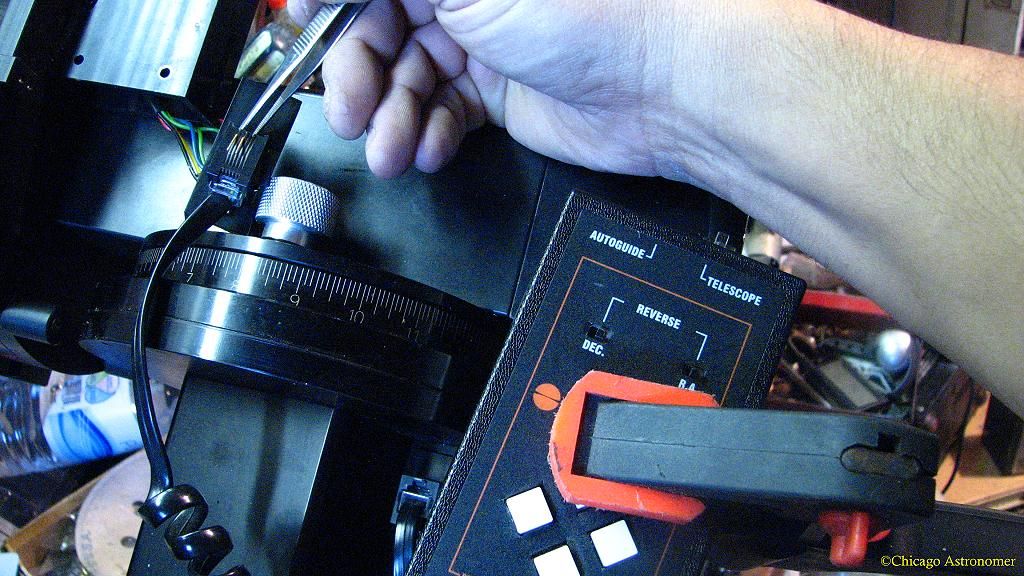
I use an adjustable clamp to hold down the button and retest. A few more times in minute adjustments and I got it.
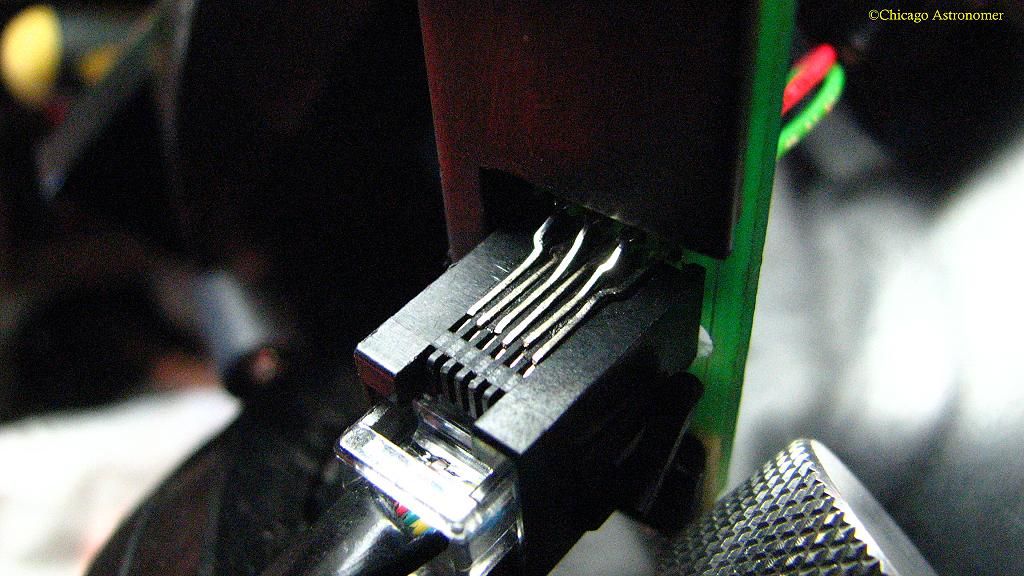
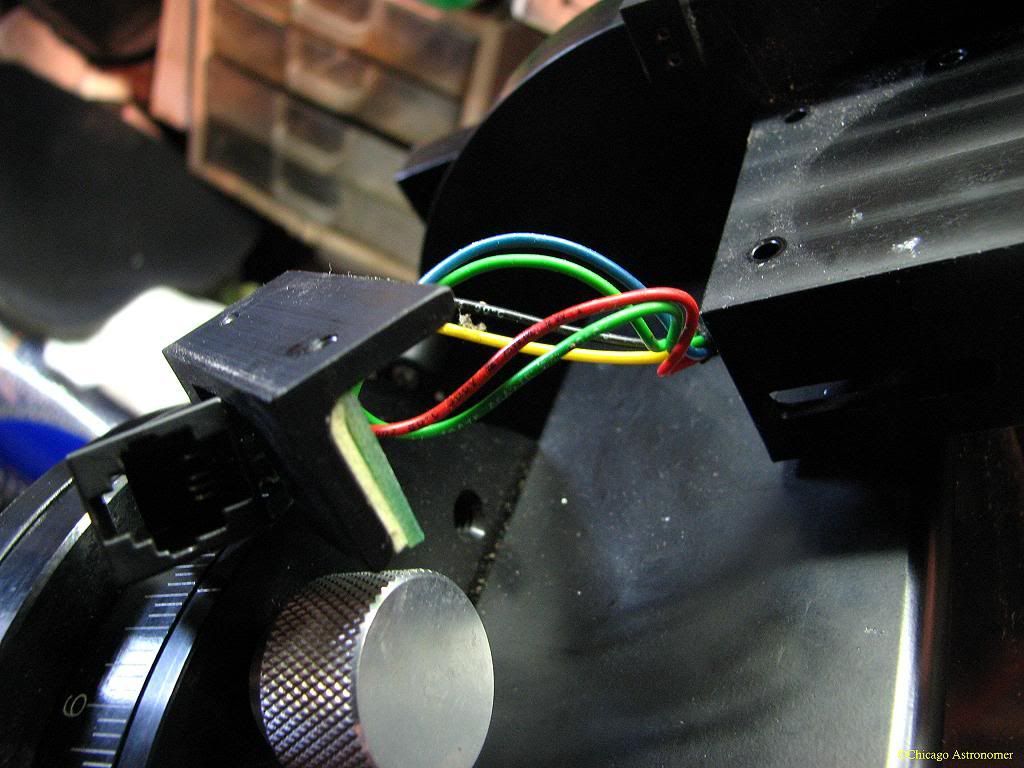
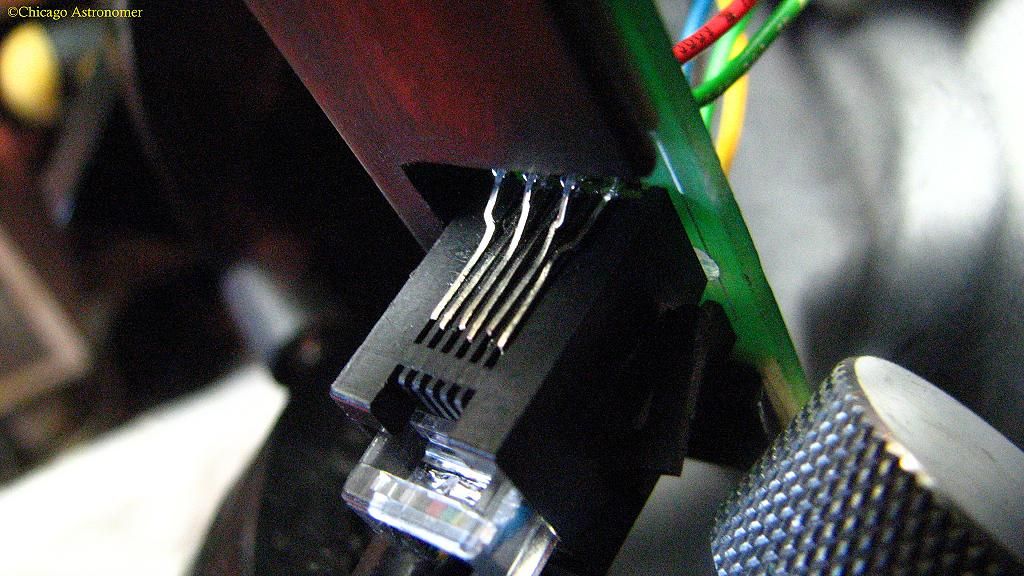
With some minor tapping into the grooves, all pins are in contact and the gears move in both directions. With the socket in proper working order, I glue it into position..
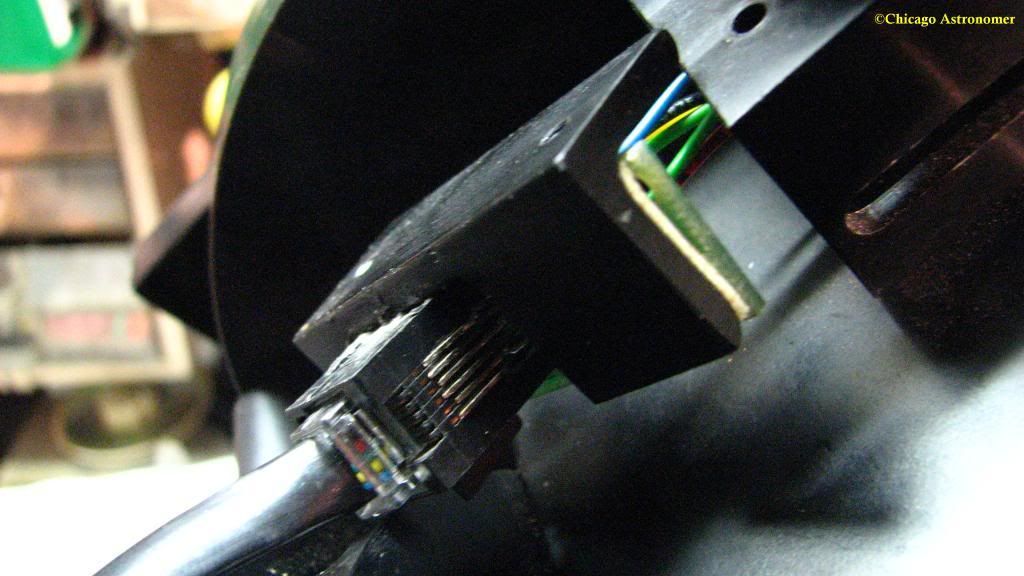
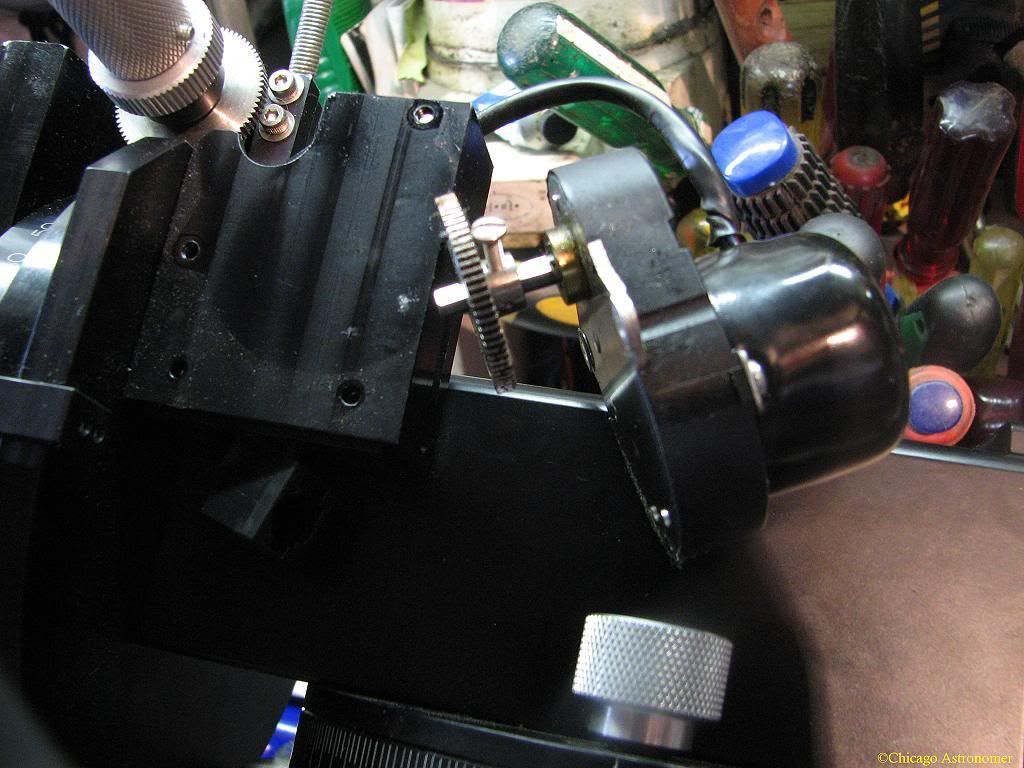
Slipping it back into it's housing, I reattach the drive motor, bring it all back together.
But, does it work now?
Yep.
Immediate button reaction and movement.
Sweet!
While I was putting the mount back together, I received a call from Chicago Astronomer Linda, to see if i was going out this evening for a session.
It would be the virgin test of the repair project and it worked wonderfully throughout the evening. I was fortunate to have had this ancient computer on hand and was ready to throw out.
Sometimes a RJ-12 socket is just waiting to be used.